
Do you like the title? I probably had about five or six different ones, before settling on this. So, in this post, I hope to convey how the process went for stitching these sneakers together, problems or roadblocks I came up against, and how I moved past them to the final completed pair of sneakers.
I had hoped to share a full timer view of making these to show you can do in one day. Which you can. But I had some issues, which I will come to, and I broke the making across a week. When I came back to them, my timer had reset. The only timer you will see later, is for stitching one sneaker.
As Julie Andrews once said, ‘Let’s start at the very beginning’. (Sorry, couldn’t resist 🙂 and don’t worry, I am not going to inflict my singing on you)
Last week, I posted the unpacking and talking through the contents and my thoughts on these new soles. Despite the problem I ran into, I stand by my opinion on the kit and changes. This kit makes a great pair of sneakers and I would buy again.
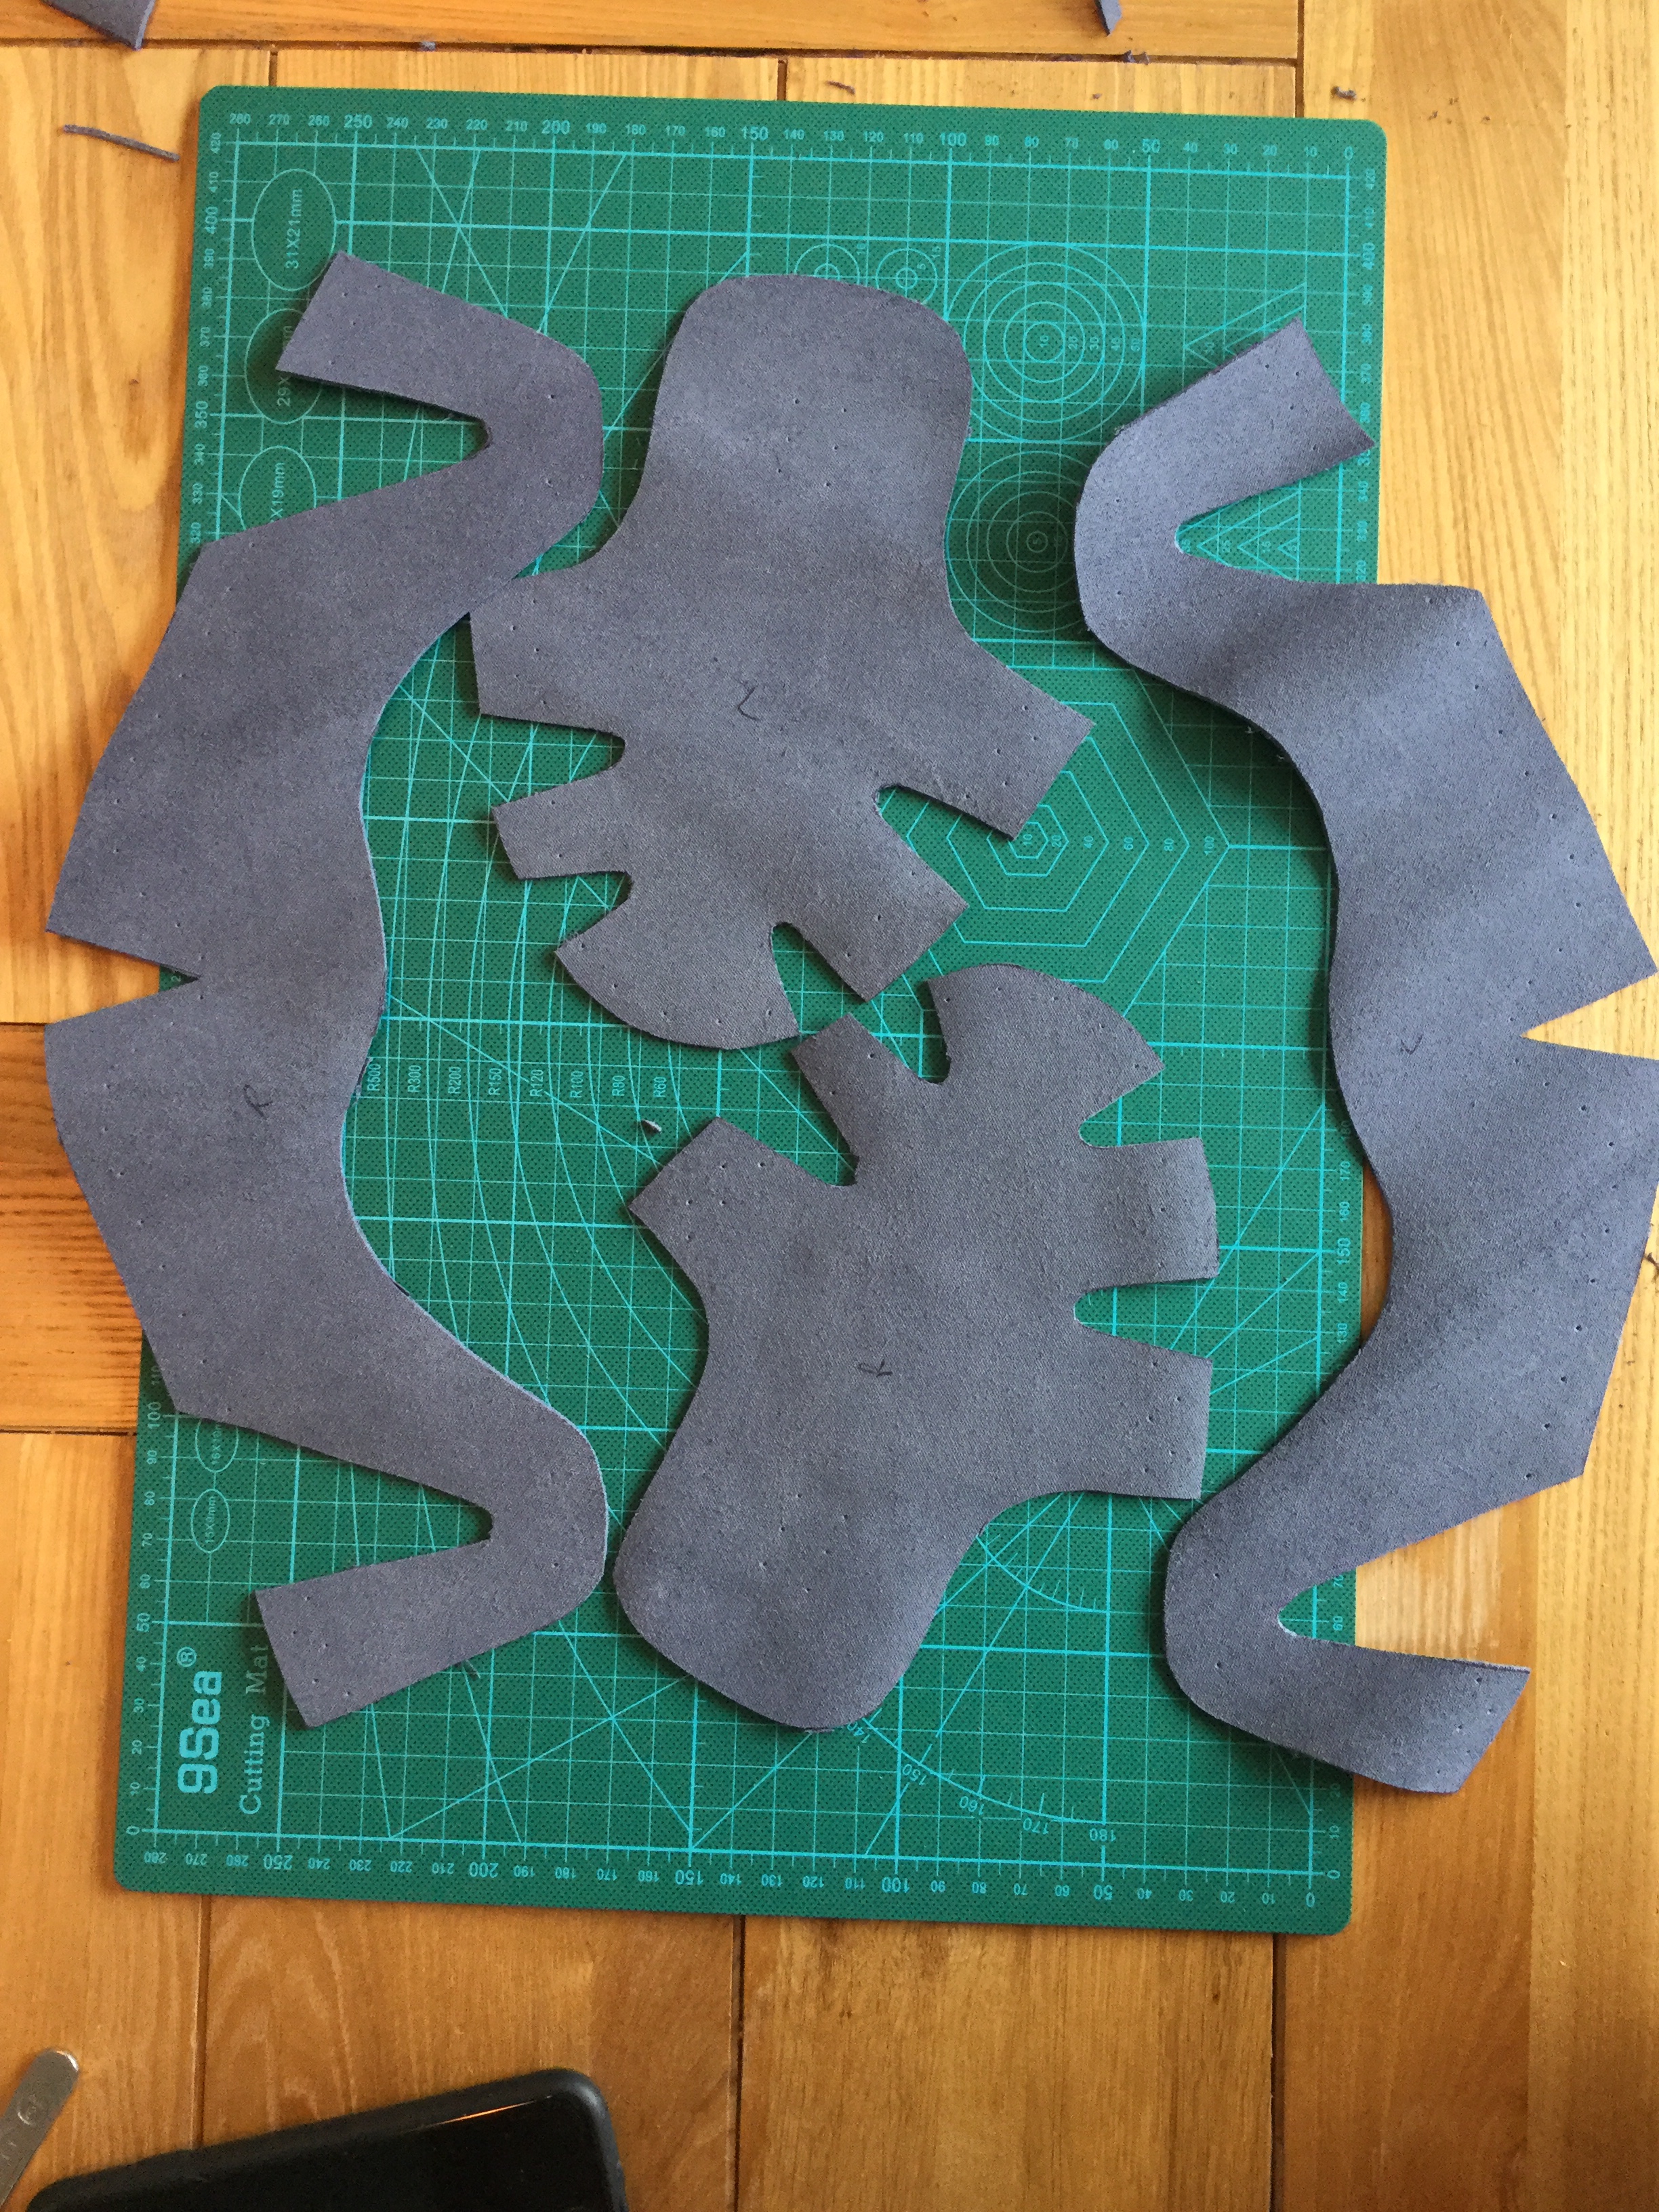
Obviously, the start of the process is marking and cutting the templates. It is crucial that you get this right and don’t mess it up. You do get extra leather, in case you do go wrong, but not enough to cut another pair.
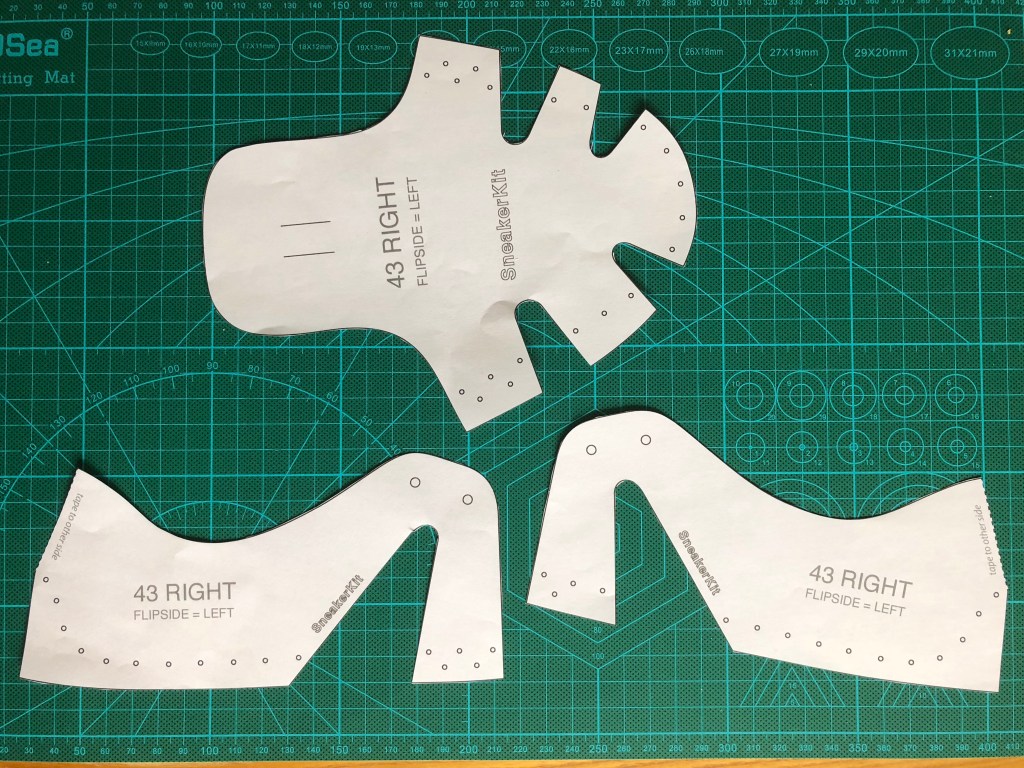
It is important to ensure you trace these on to the leather and mark them. It is also import to know that depending on whether you trace onto the front or reverse of the leather, influences the right and left foot, regardless of the template markings. Pay attention, this may screw with your mind.
1. Trace templates onto the front of the leather and the right foot (template markings uppermost) is the right foot, flip templates and it’s the left foot.
2. Trace templates onto the reverse of the leather and the right template uppermost becomes the left foot, flip to make the right foot.
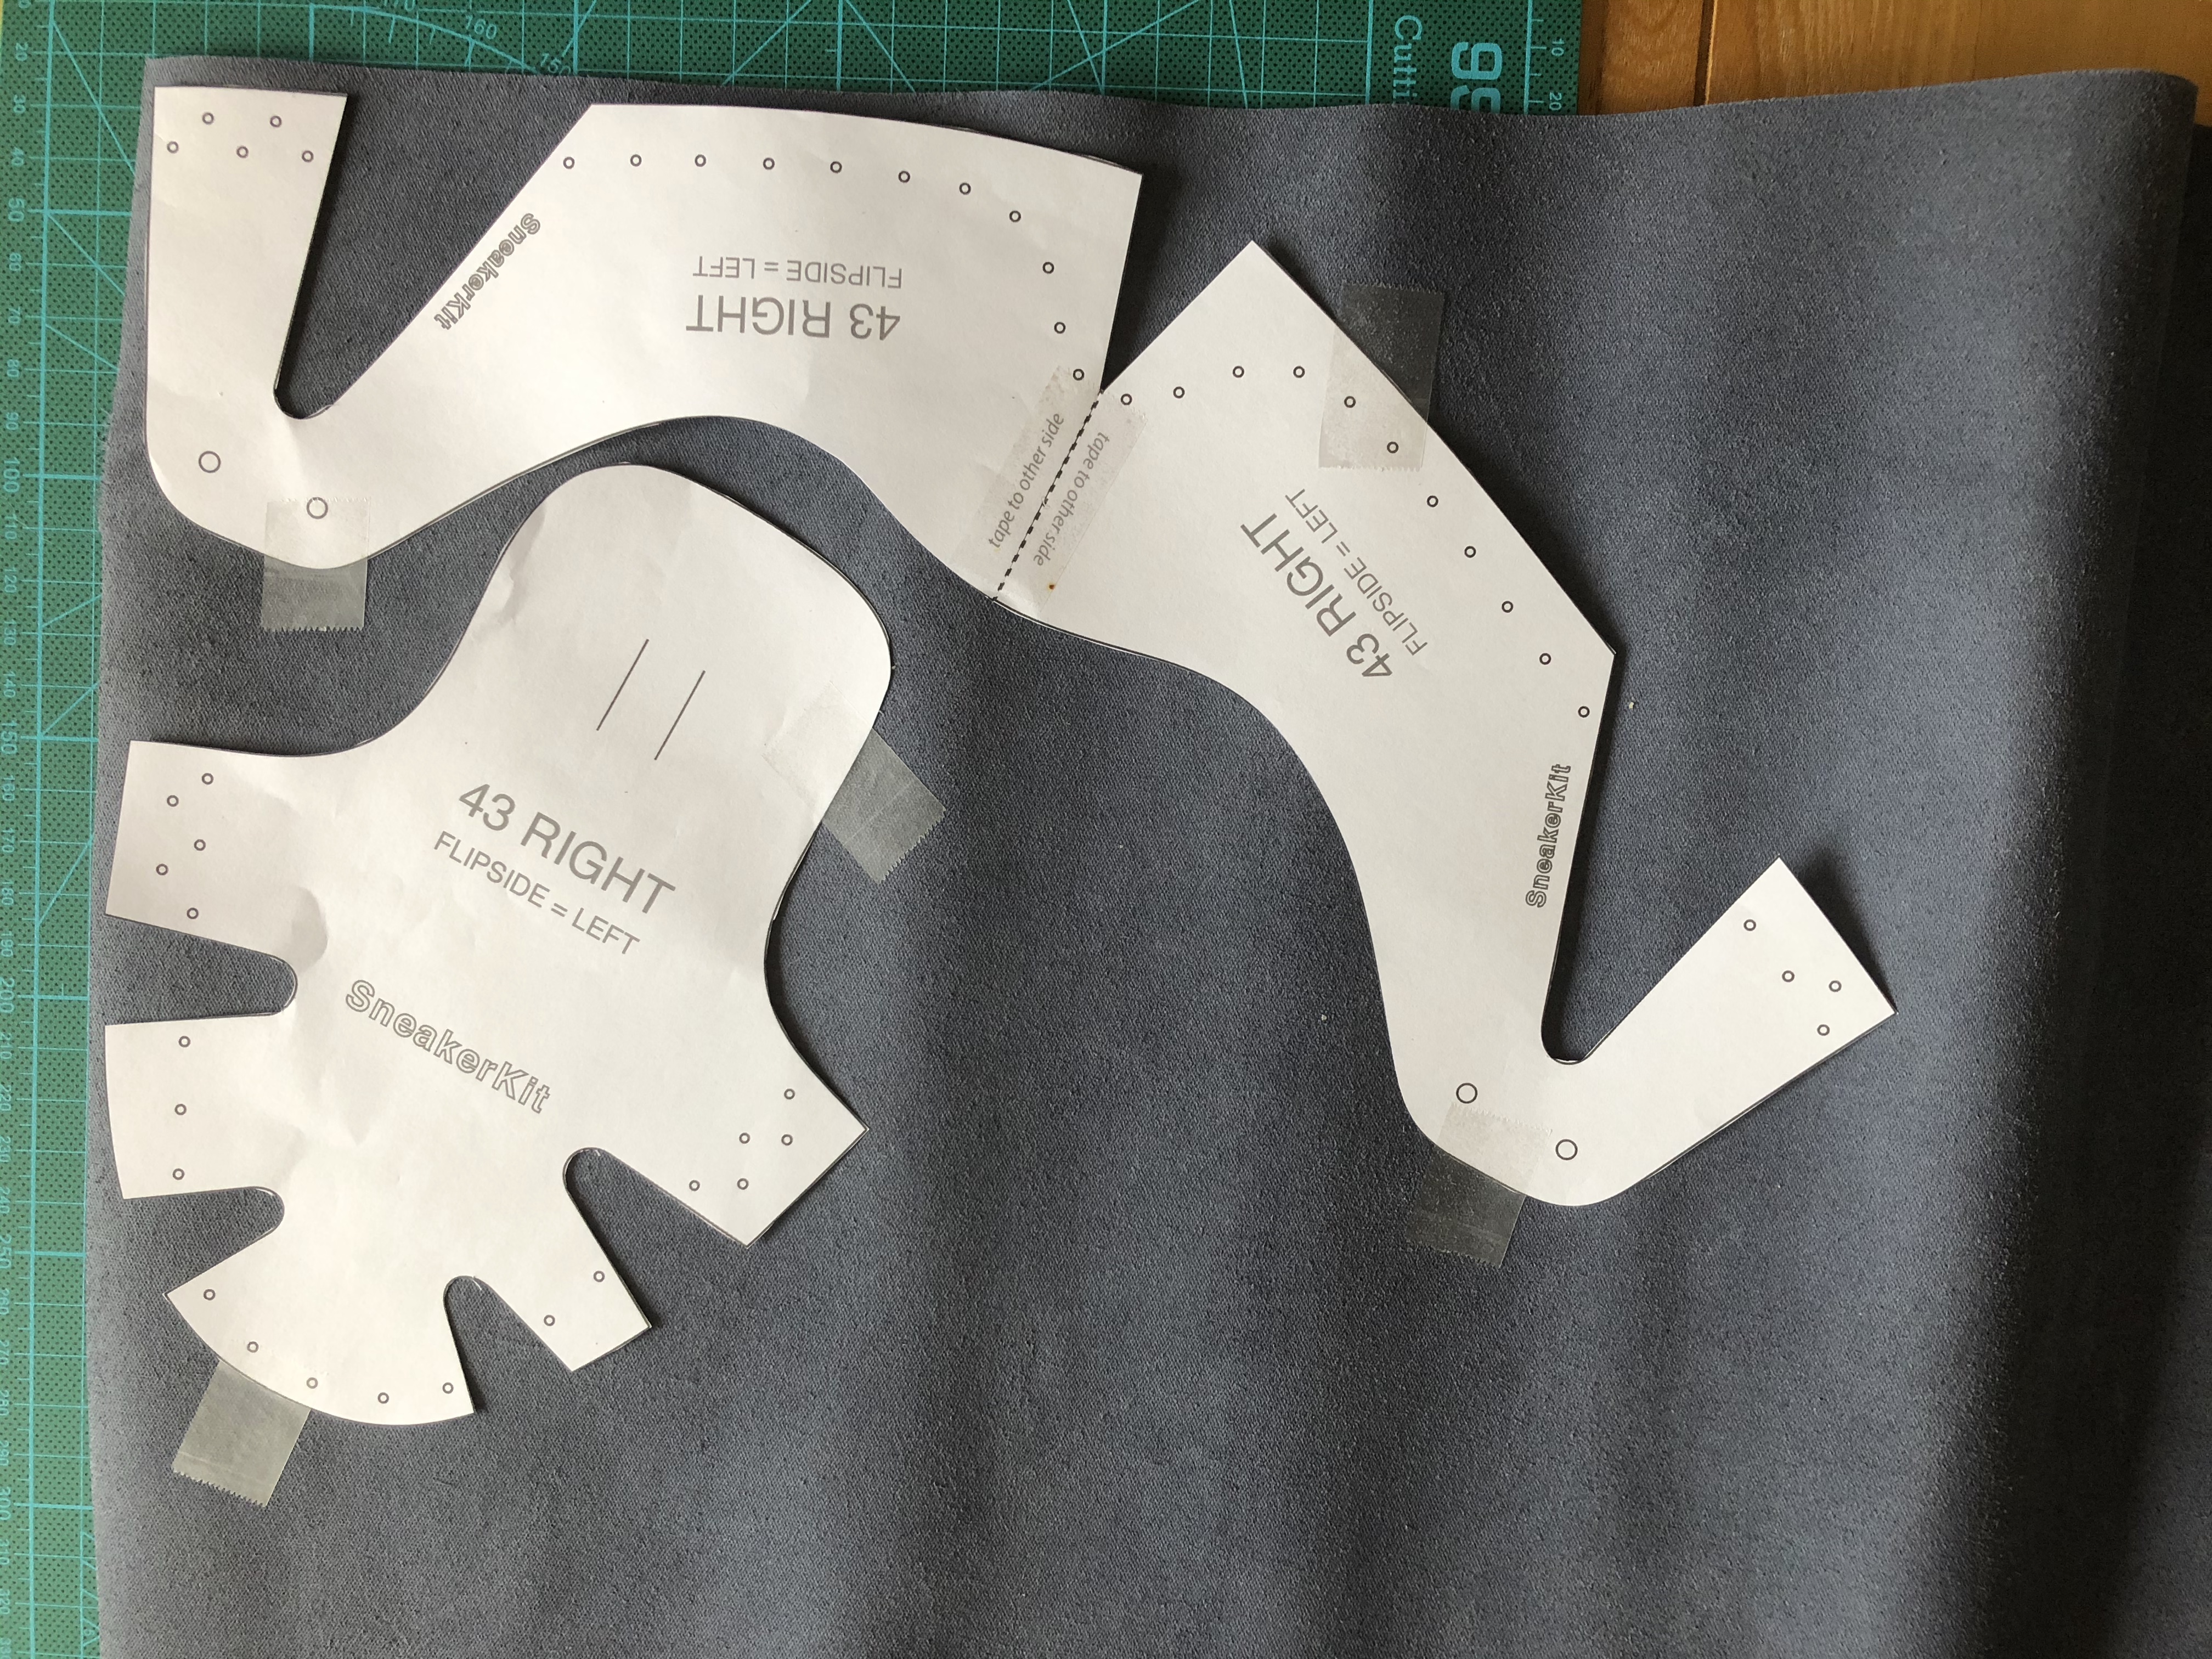
Now, this is where I went wrong. The instructions simply state to cut out templates, trace onto leather, flip and trace the left shoe, mark holes and cut out leather. I am paraphrasing a bit, but this essentially what it says. Now, my logic is to mark the back of the leather because I don’t want any marks on the front, despite how carefully I may cut the leather inside the line.
Now, remember, it doesn’t say anything about front or reverse of leather in the instructions. So you are a 50:50 chance of getting it right. Of course, I did option two, and marked my right with an R and the flipped template as a left with an L, not realising nor remembering from the first sneakers I made. So, I carried on.
Reverse side 
Front side

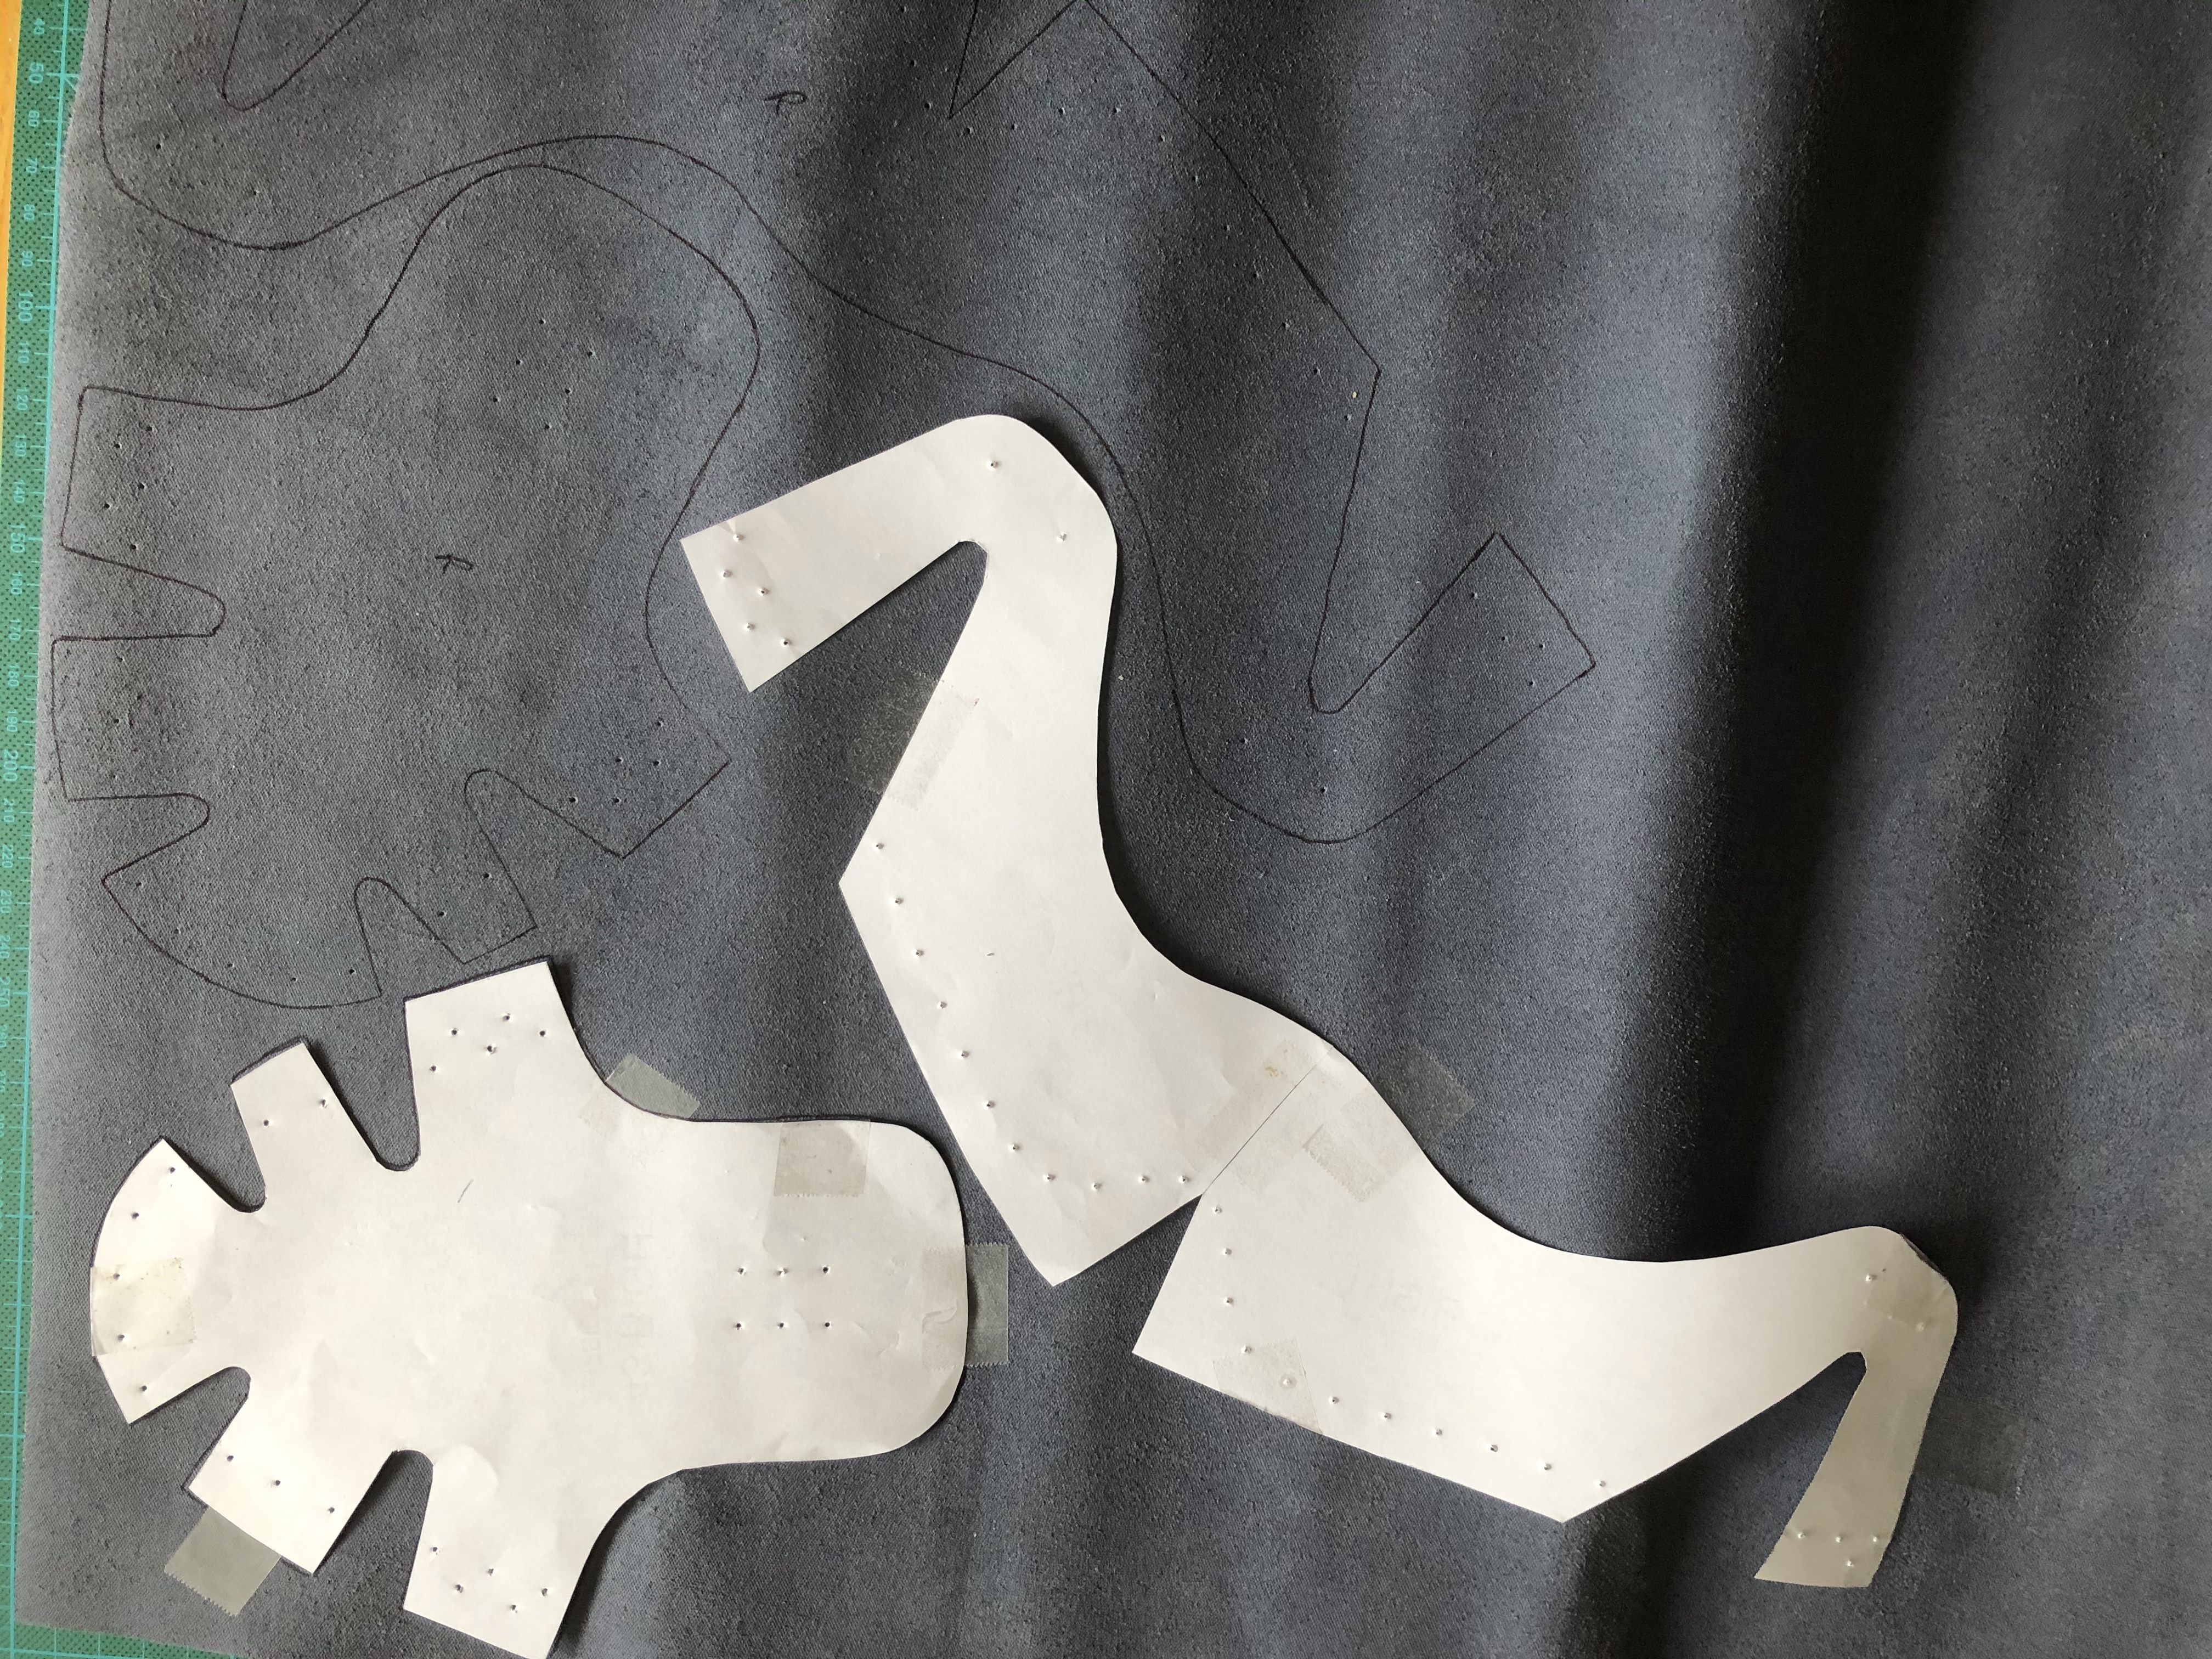
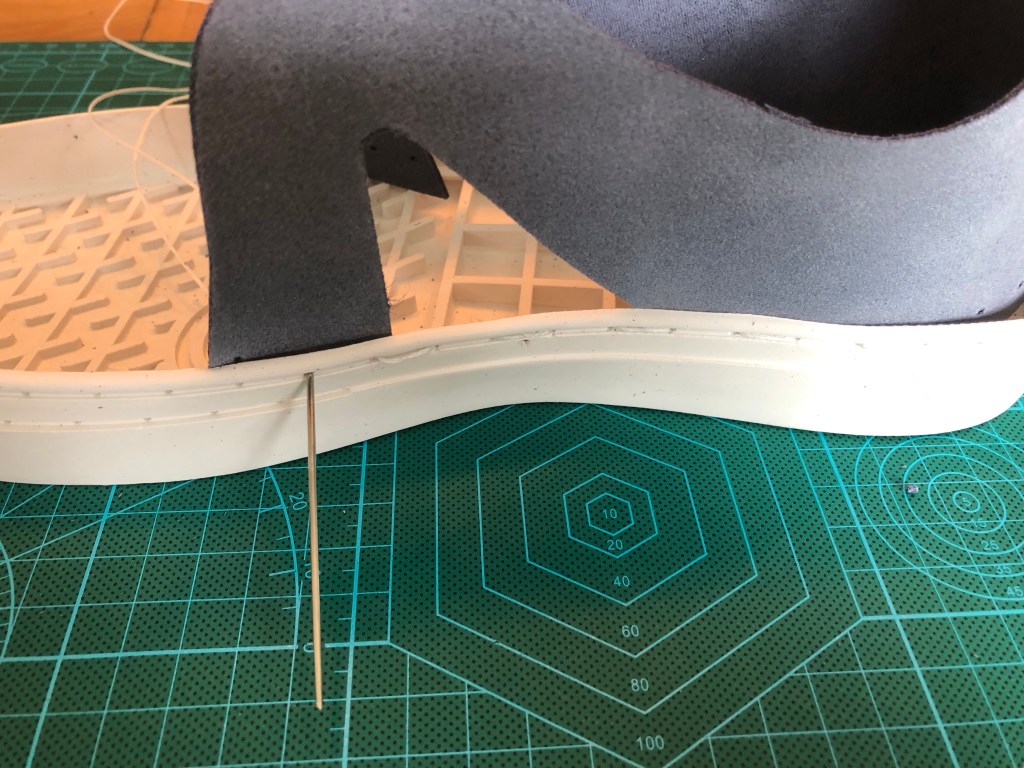
Once all the holes have been punched, it’s time to start stitching. The shoes have a little arrow indicating where you start. It is simple to count back the holes on the sole, to see how many holes along the leather you start. Remember to start with the leather facing the correct way, upper facing out. It is depressing if you get so far round then realise it’s the wrong way round and you have to unpick.
It was after this that it all went wrong. I elected to do the sandals type sneaker, Summer 2. I progressed to add the tongue/toe section. I compared the best I could to the picture on the website, but it was a left shoe and I was doing the right. Plus, there are no instructions giving directions for the different versions.
I didn’t take any pictures at this stage, as I got so far around the front and knew it wasn’t working. The tongue was veering to the left and the holes in the leather and sneaker just didn’t feel right in their placement. So, I unstitched, repositioned, thinking I maybe didn’t line something along the right on the front piece. Still no joy. Unstitched again and thought maybe I got something wrong in the template, so I switched out the tongue for the other because I could see that the cutout is slightly different on one side than the other. It still didn’t work.
I looked at the instructions online and it mentions about front and reverse of leather, but I doesn’t read very well and still left me confused.
So, quite confused. I emailed the company. Whilst I waited for a reply, I completely unstitched. I thought I had too many holes spaces between the cutout of the side piece. I reduced by one, adding the tongue and it all sorted of worked but I still knew it wasn’t right as I had to fudge an extra hole to make it work.
The next day I received the reply to my email. I complained that they need more pictures, better instructions and a video, given this is a new design. I had asked about the front/reverse and right/left. The rely stated I was right and they do need to make a video. Plus, they clarified the number of hole spaces between the cutouts. And explained the issue of front and reverse. Which seemed to be different to what is on the website. But, they did give me 25% off my next pair, which I am happy with as I will make another at some point.
Yesterday, I unpicked the right shoe, started on the left, with the leather I had marked as rights, with the hole spaces correct and it all worked.
So, let me start again in Part 2.


Wow! I had no idea you could even buy these sorts of kits, other than joes toes for crocheting, these are fab idea!
LikeLike