
Following on from Part 1, where I explained how things went wrong for me, in this part I start the sneaker stitching again; the right way! Here we go.
Threading the needle. This is the best way to start your stitching. The last thing you want to is have the thread pull out of the eye and need to keep retreading. Doing this will secure the thread and prevent it falling out of the needle eye.
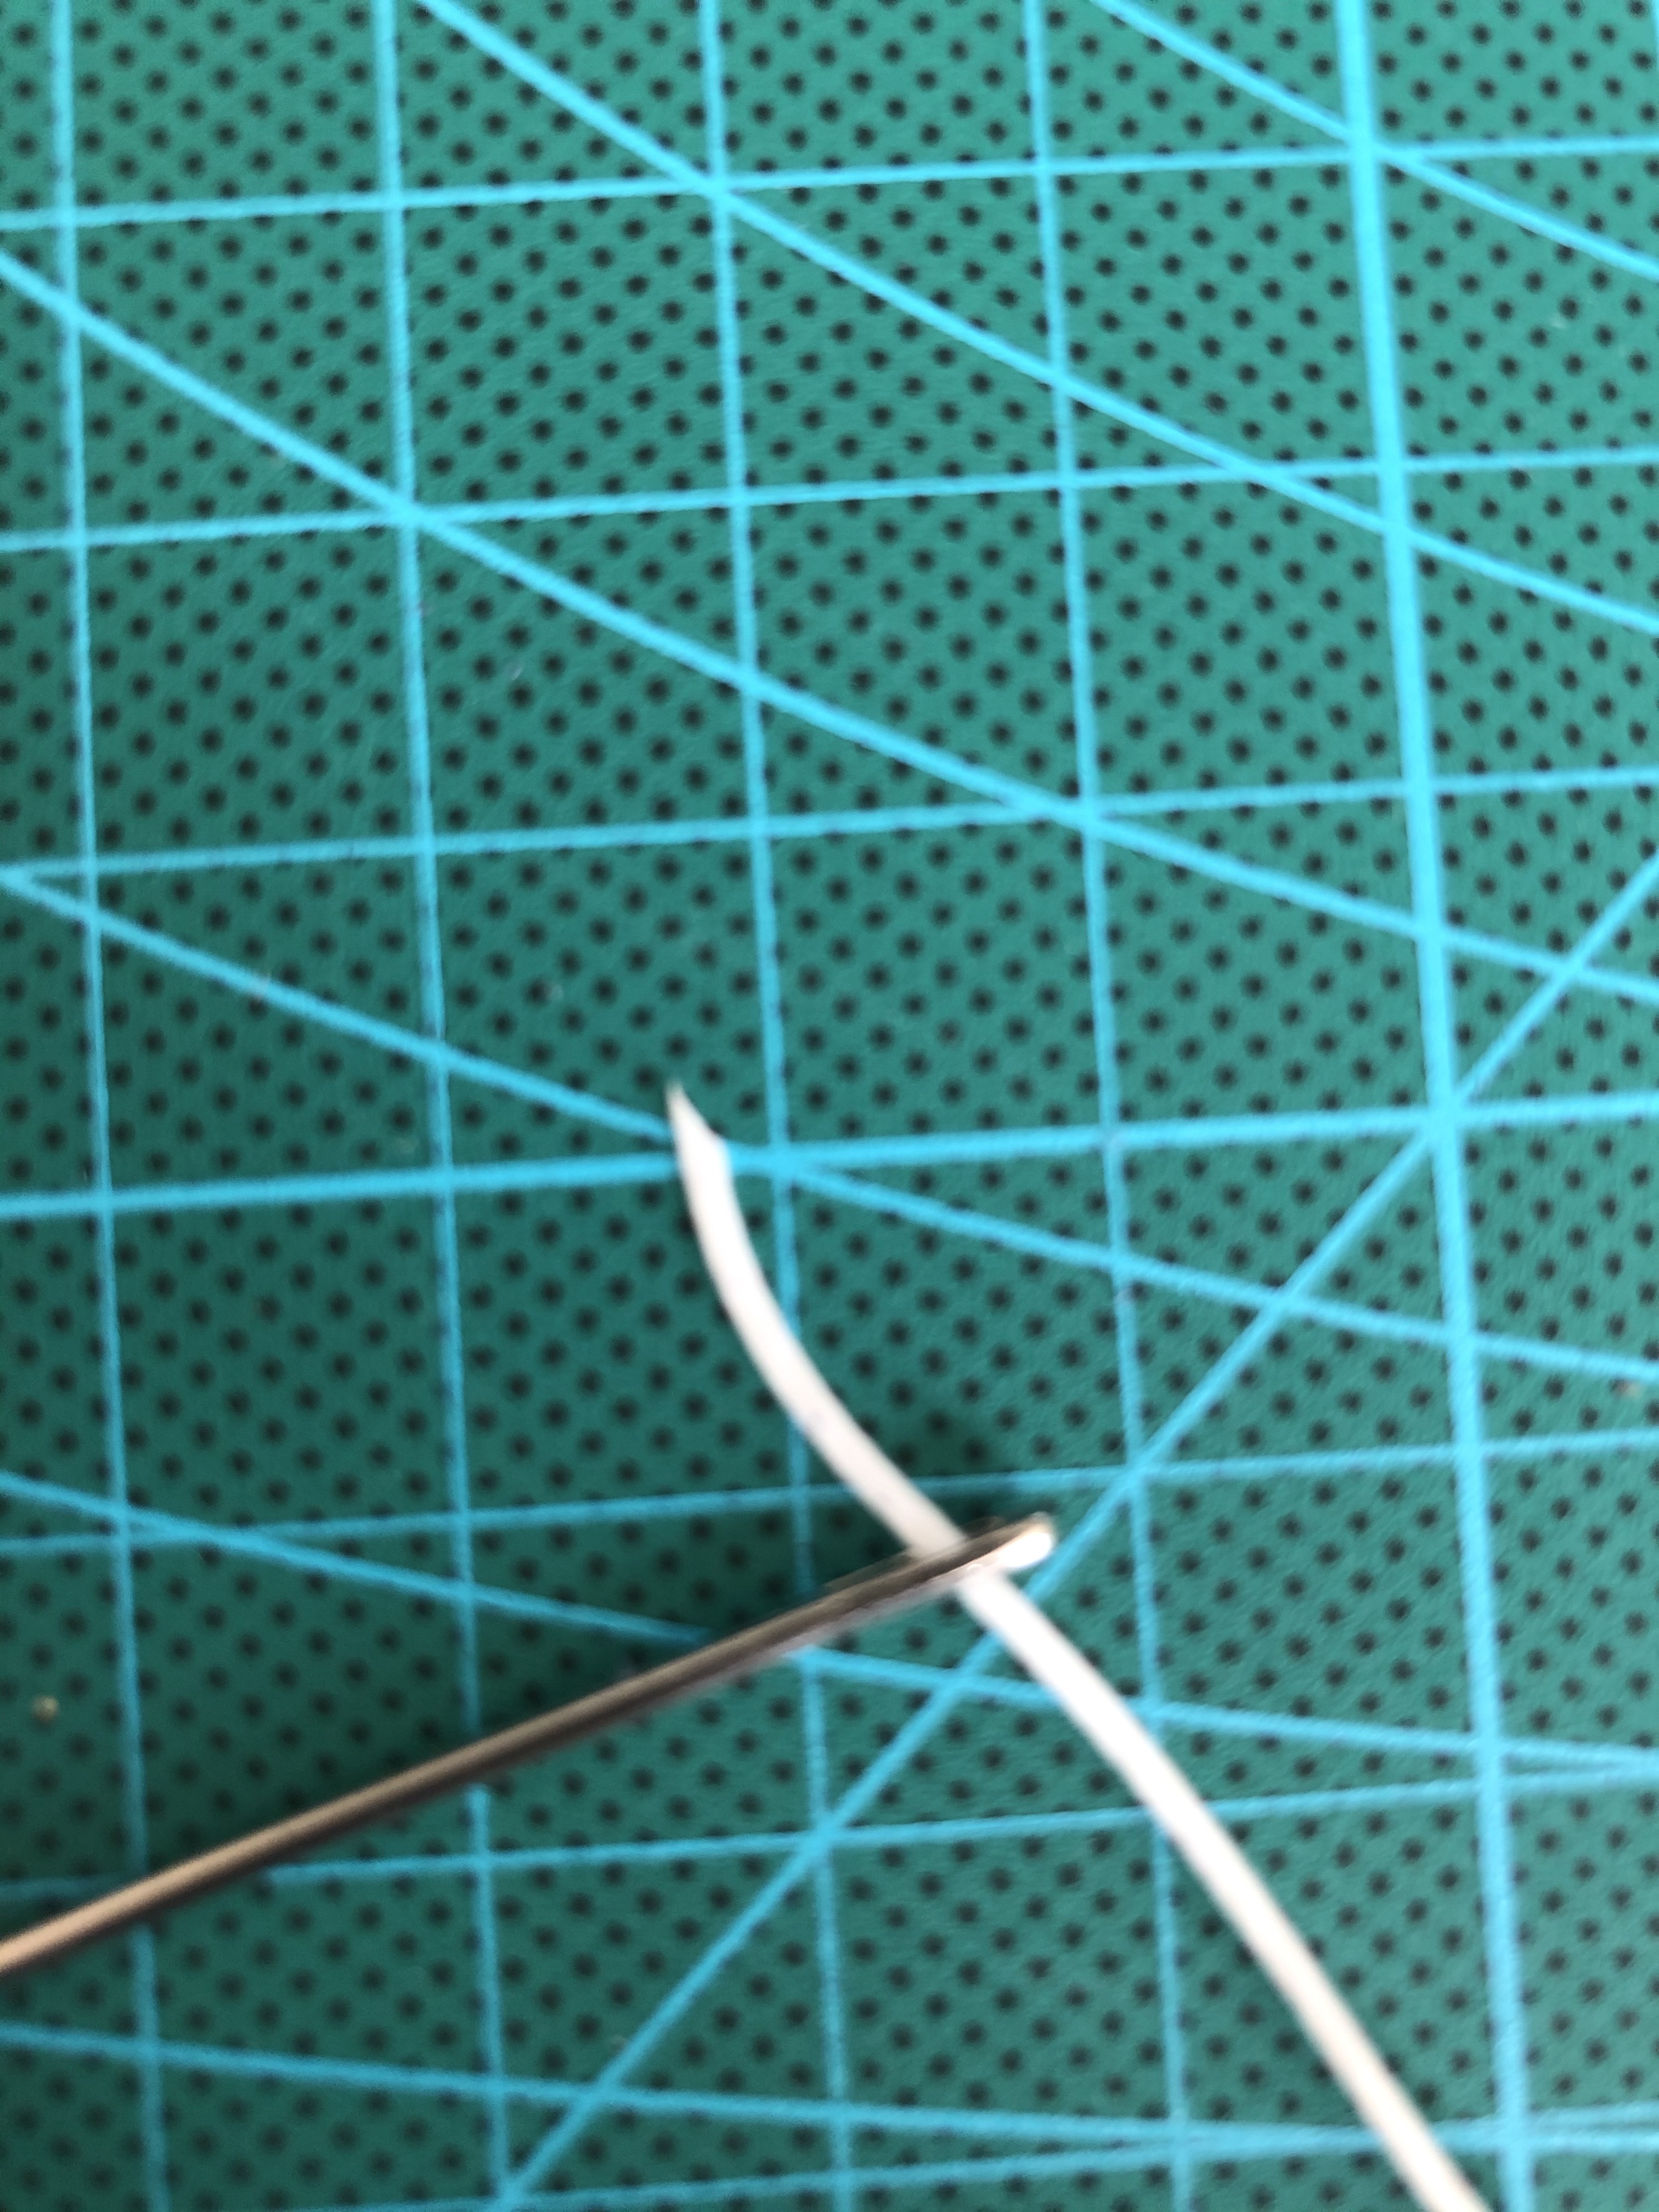
Cut end with a slant. This makes it easy to thread the eye. 
Next, push the point of the needle through the thread. 
Draw the thread down on to the thread. 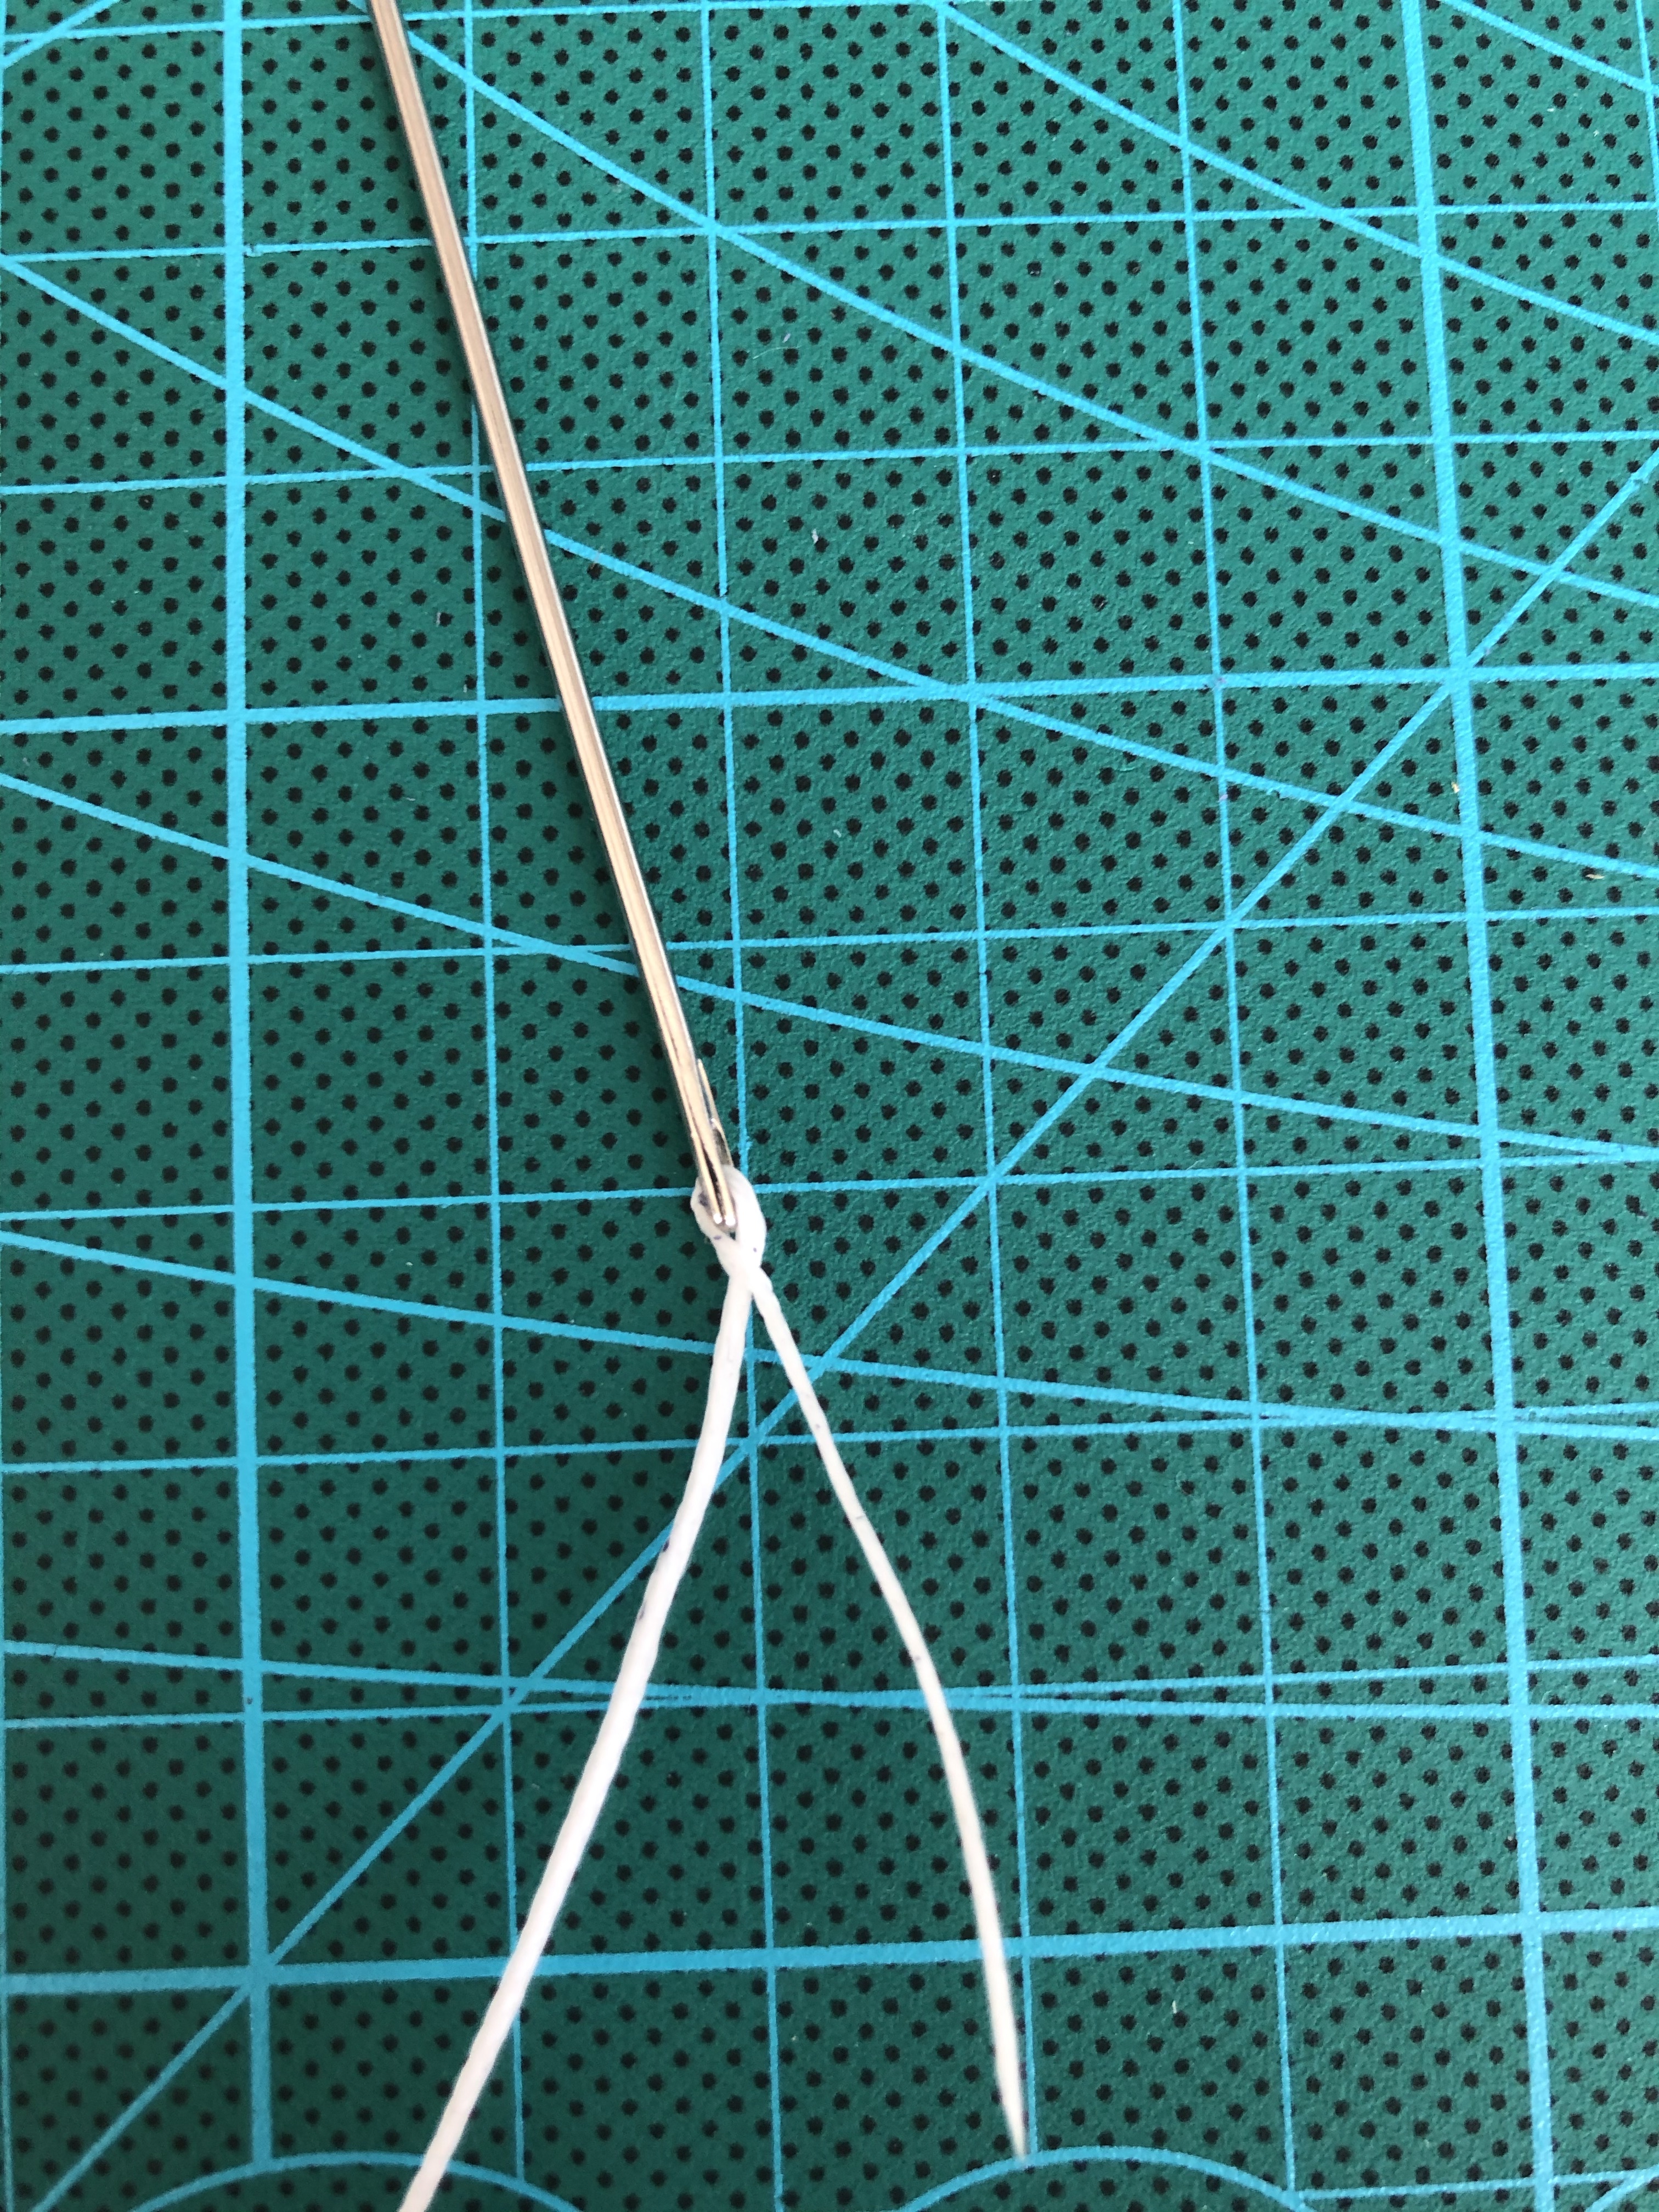
Draw the thread tight to the head of the needle to secure.
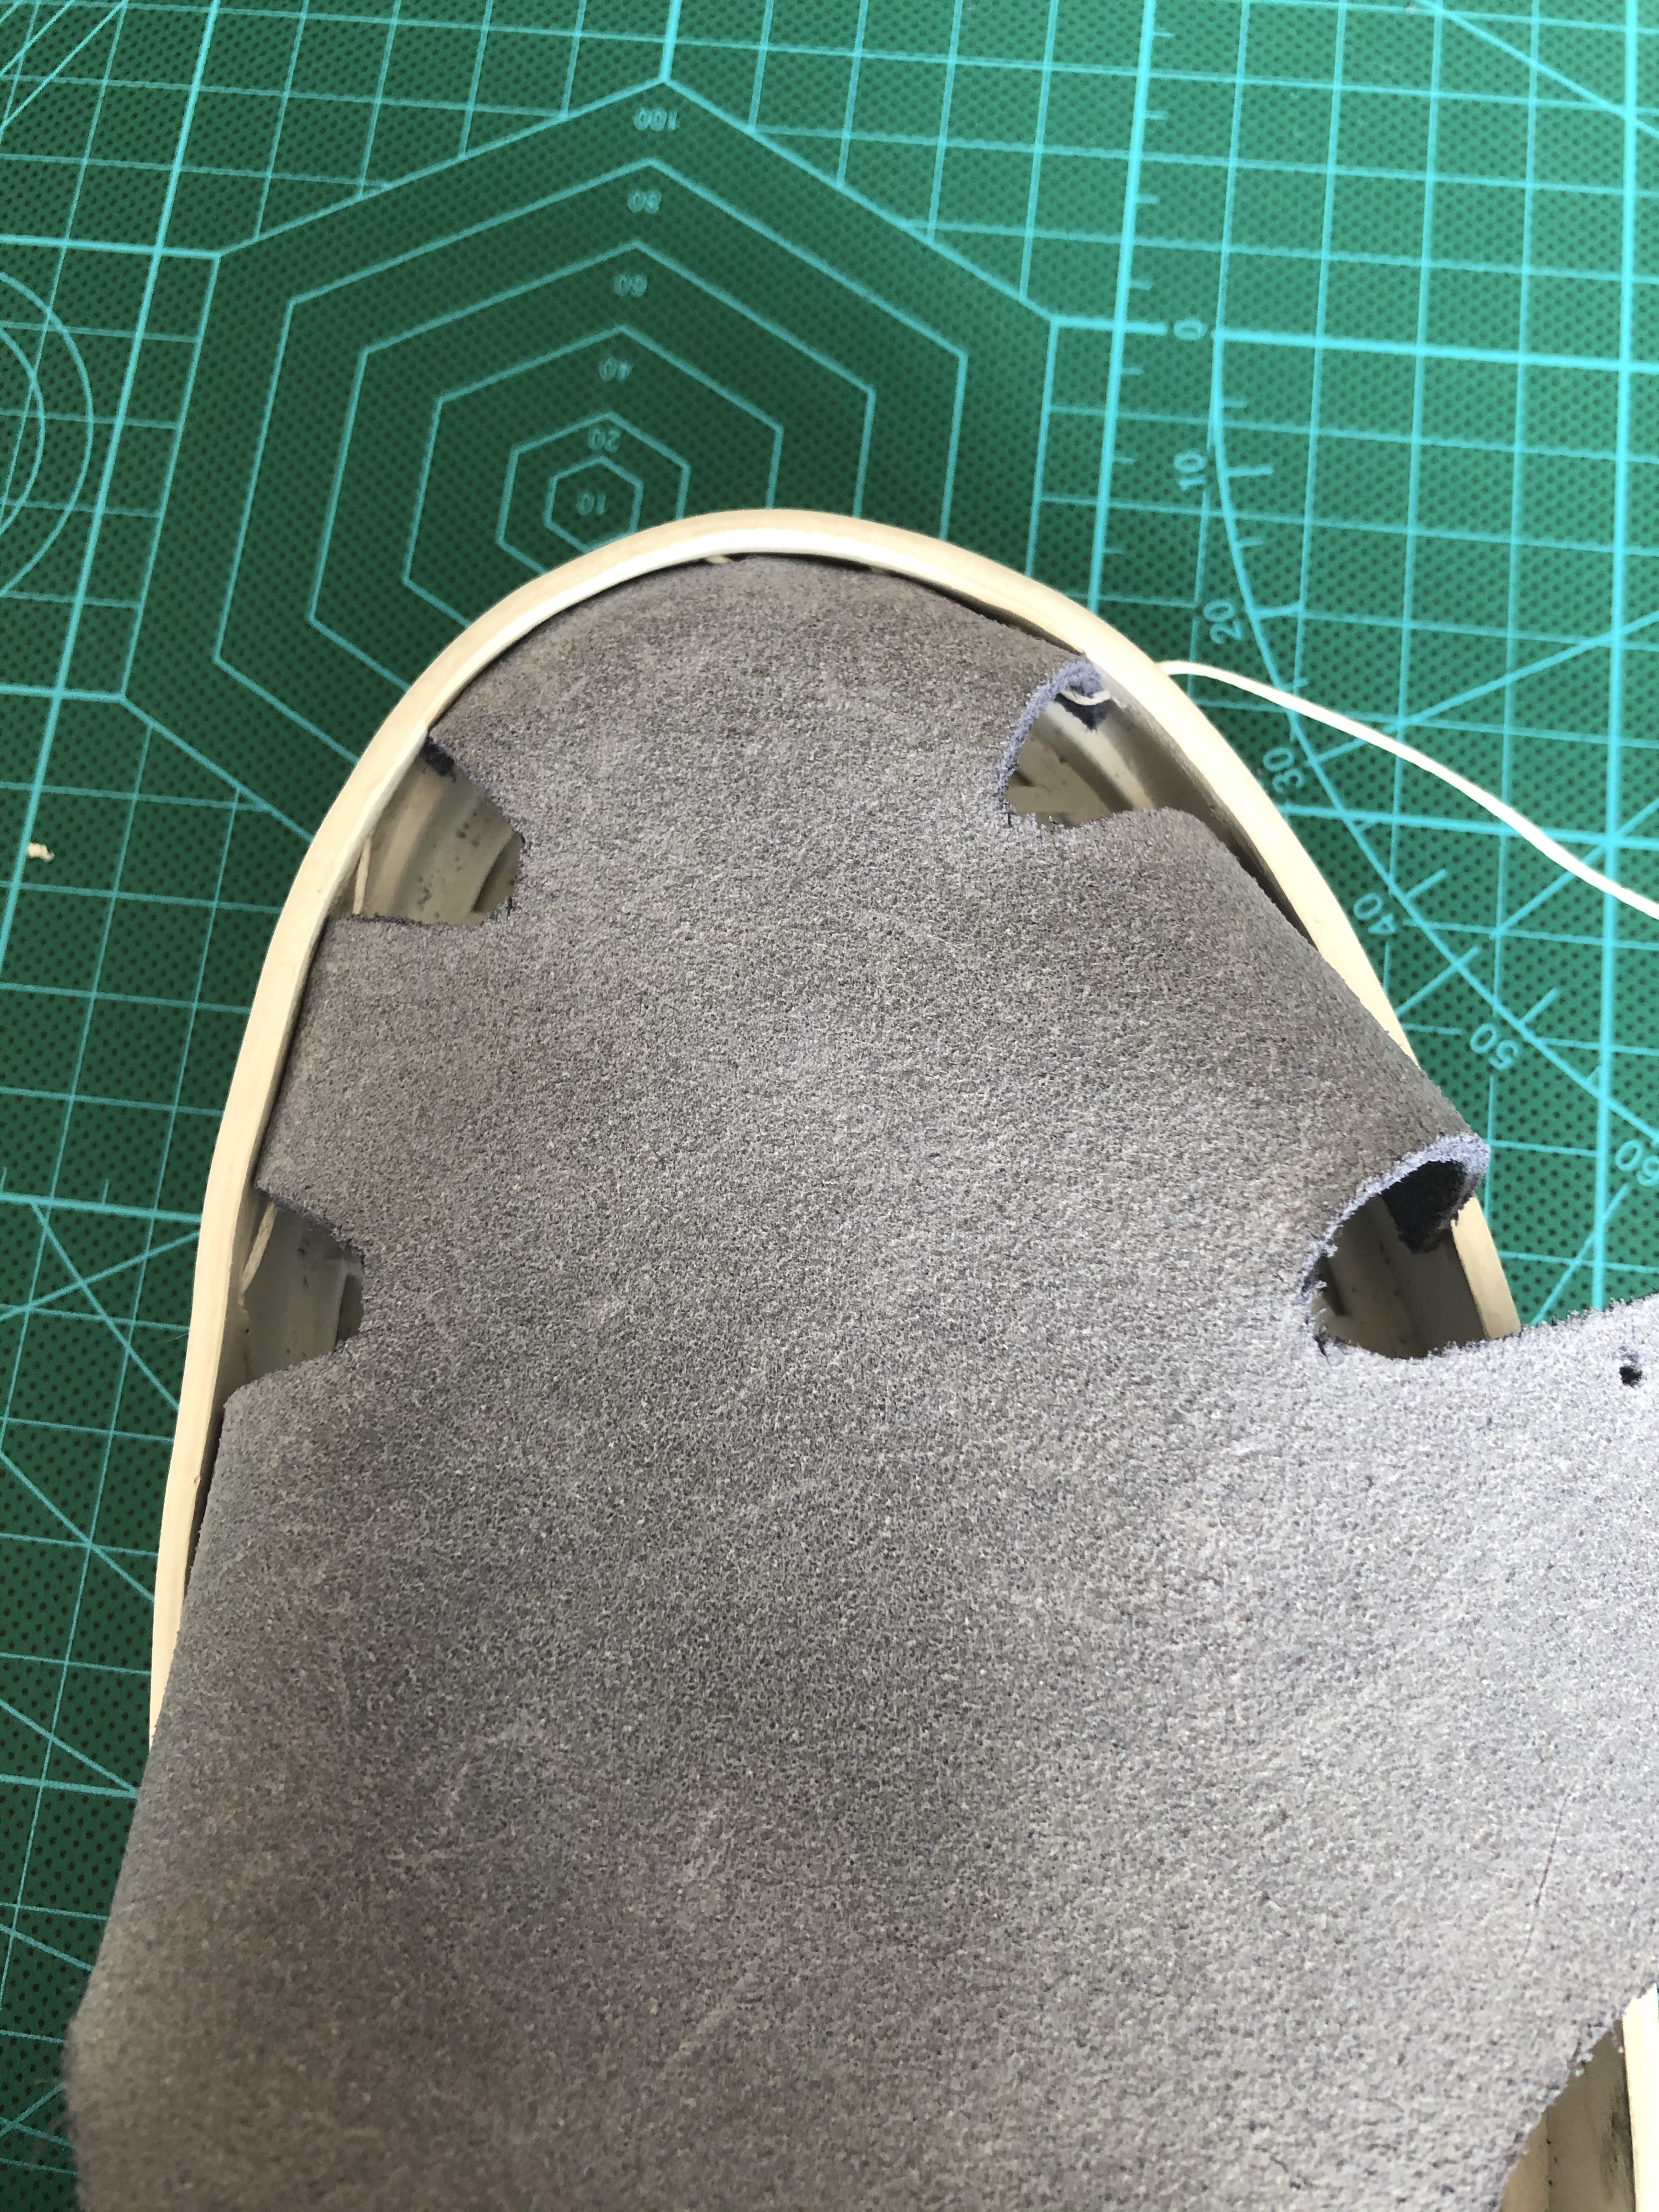
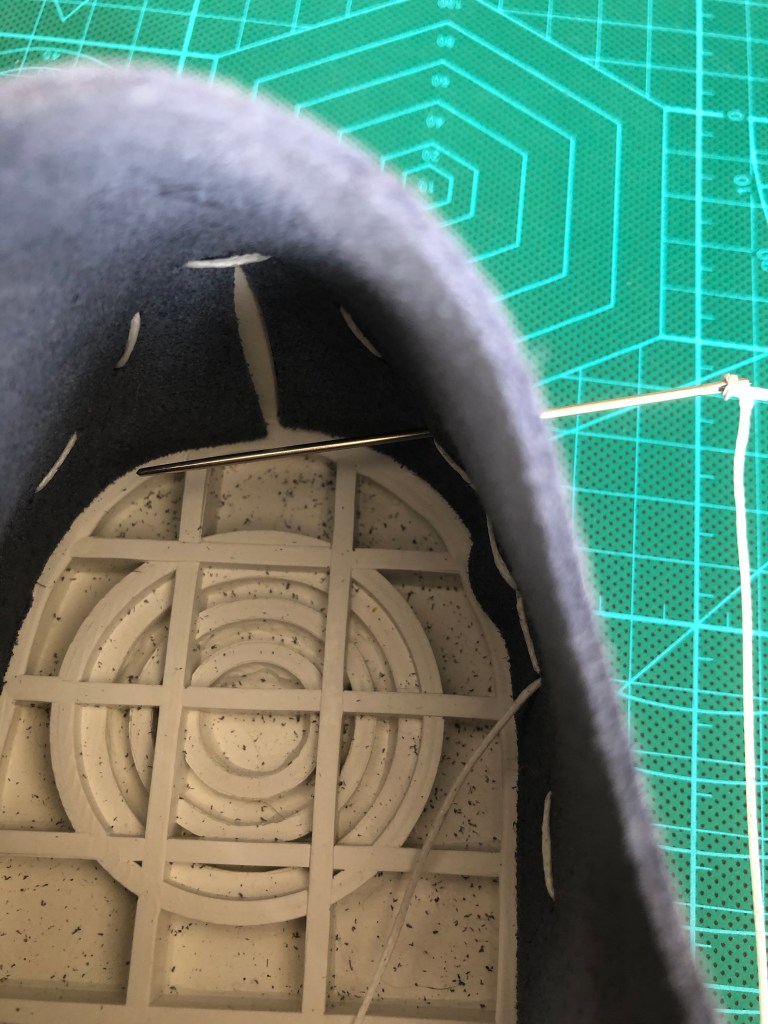
Each sneaker has an indicator showing where you start. Commence stitching at the arrow on the inside of the sole. This is 7 holes in the leather from the heel. Work long the length of the sole towards the toe.
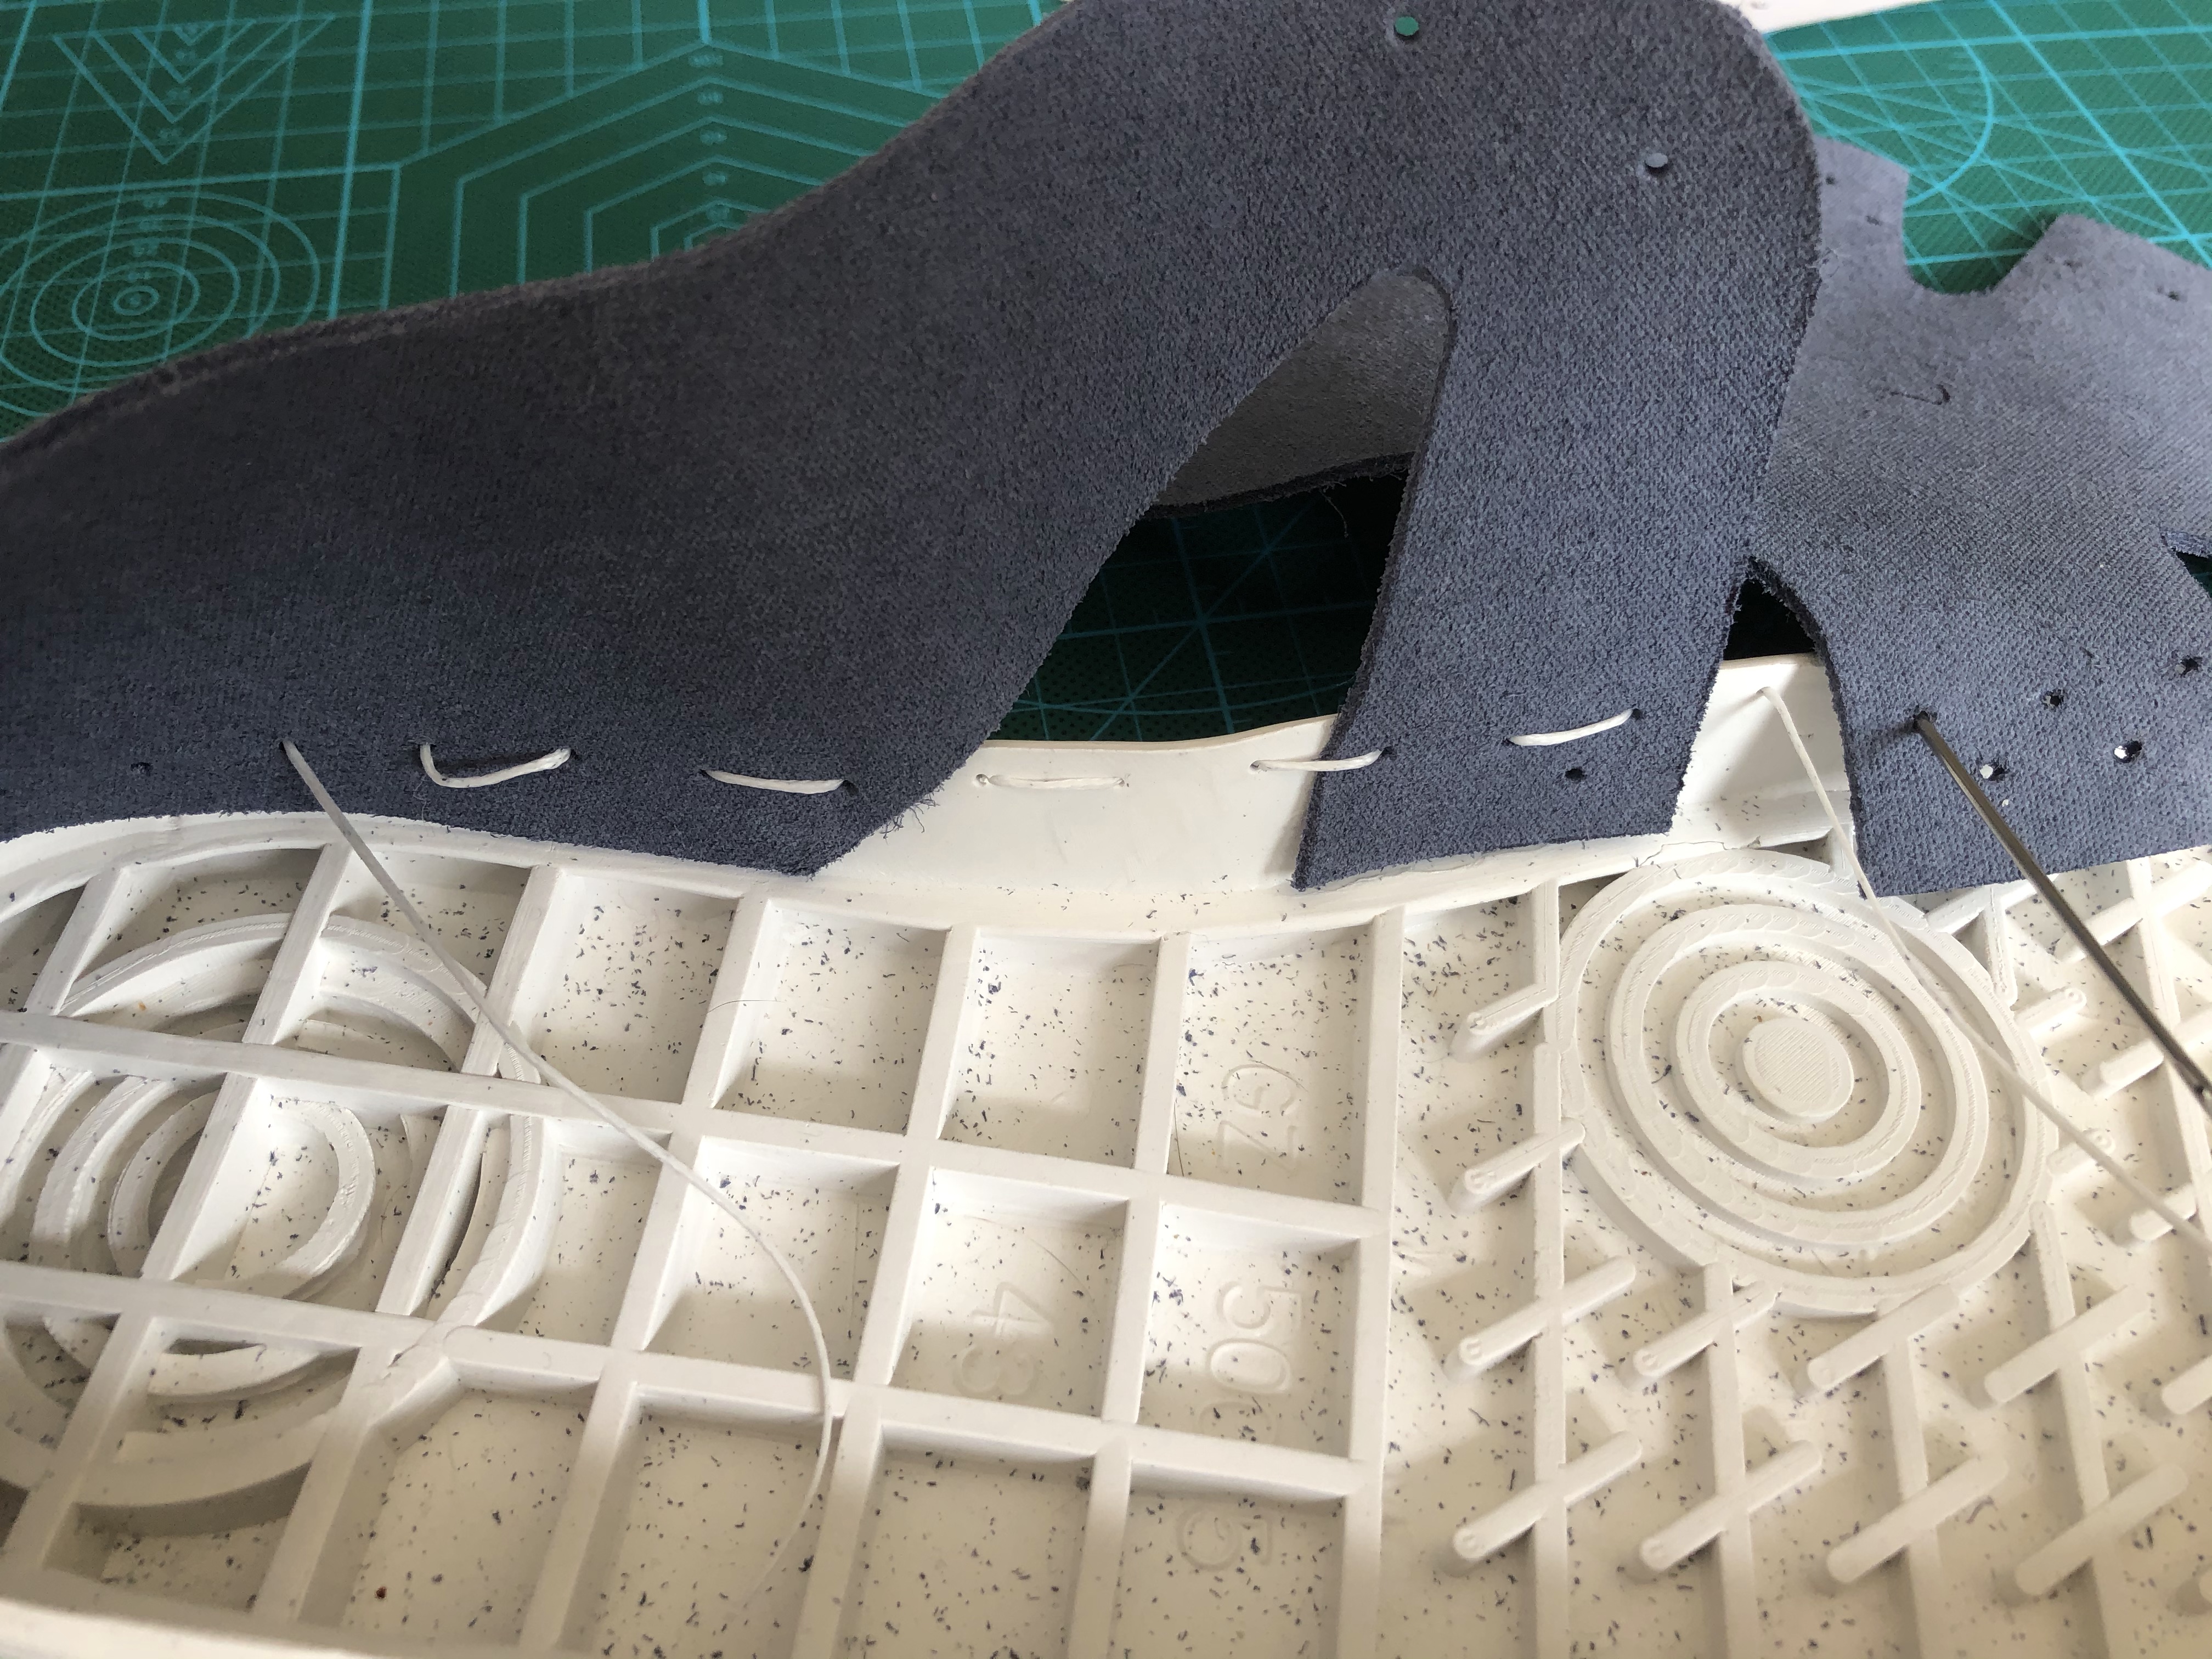
Leave a 3 in tail if tread at the start. 
Draw the thread through leather and sole as a running stitch. 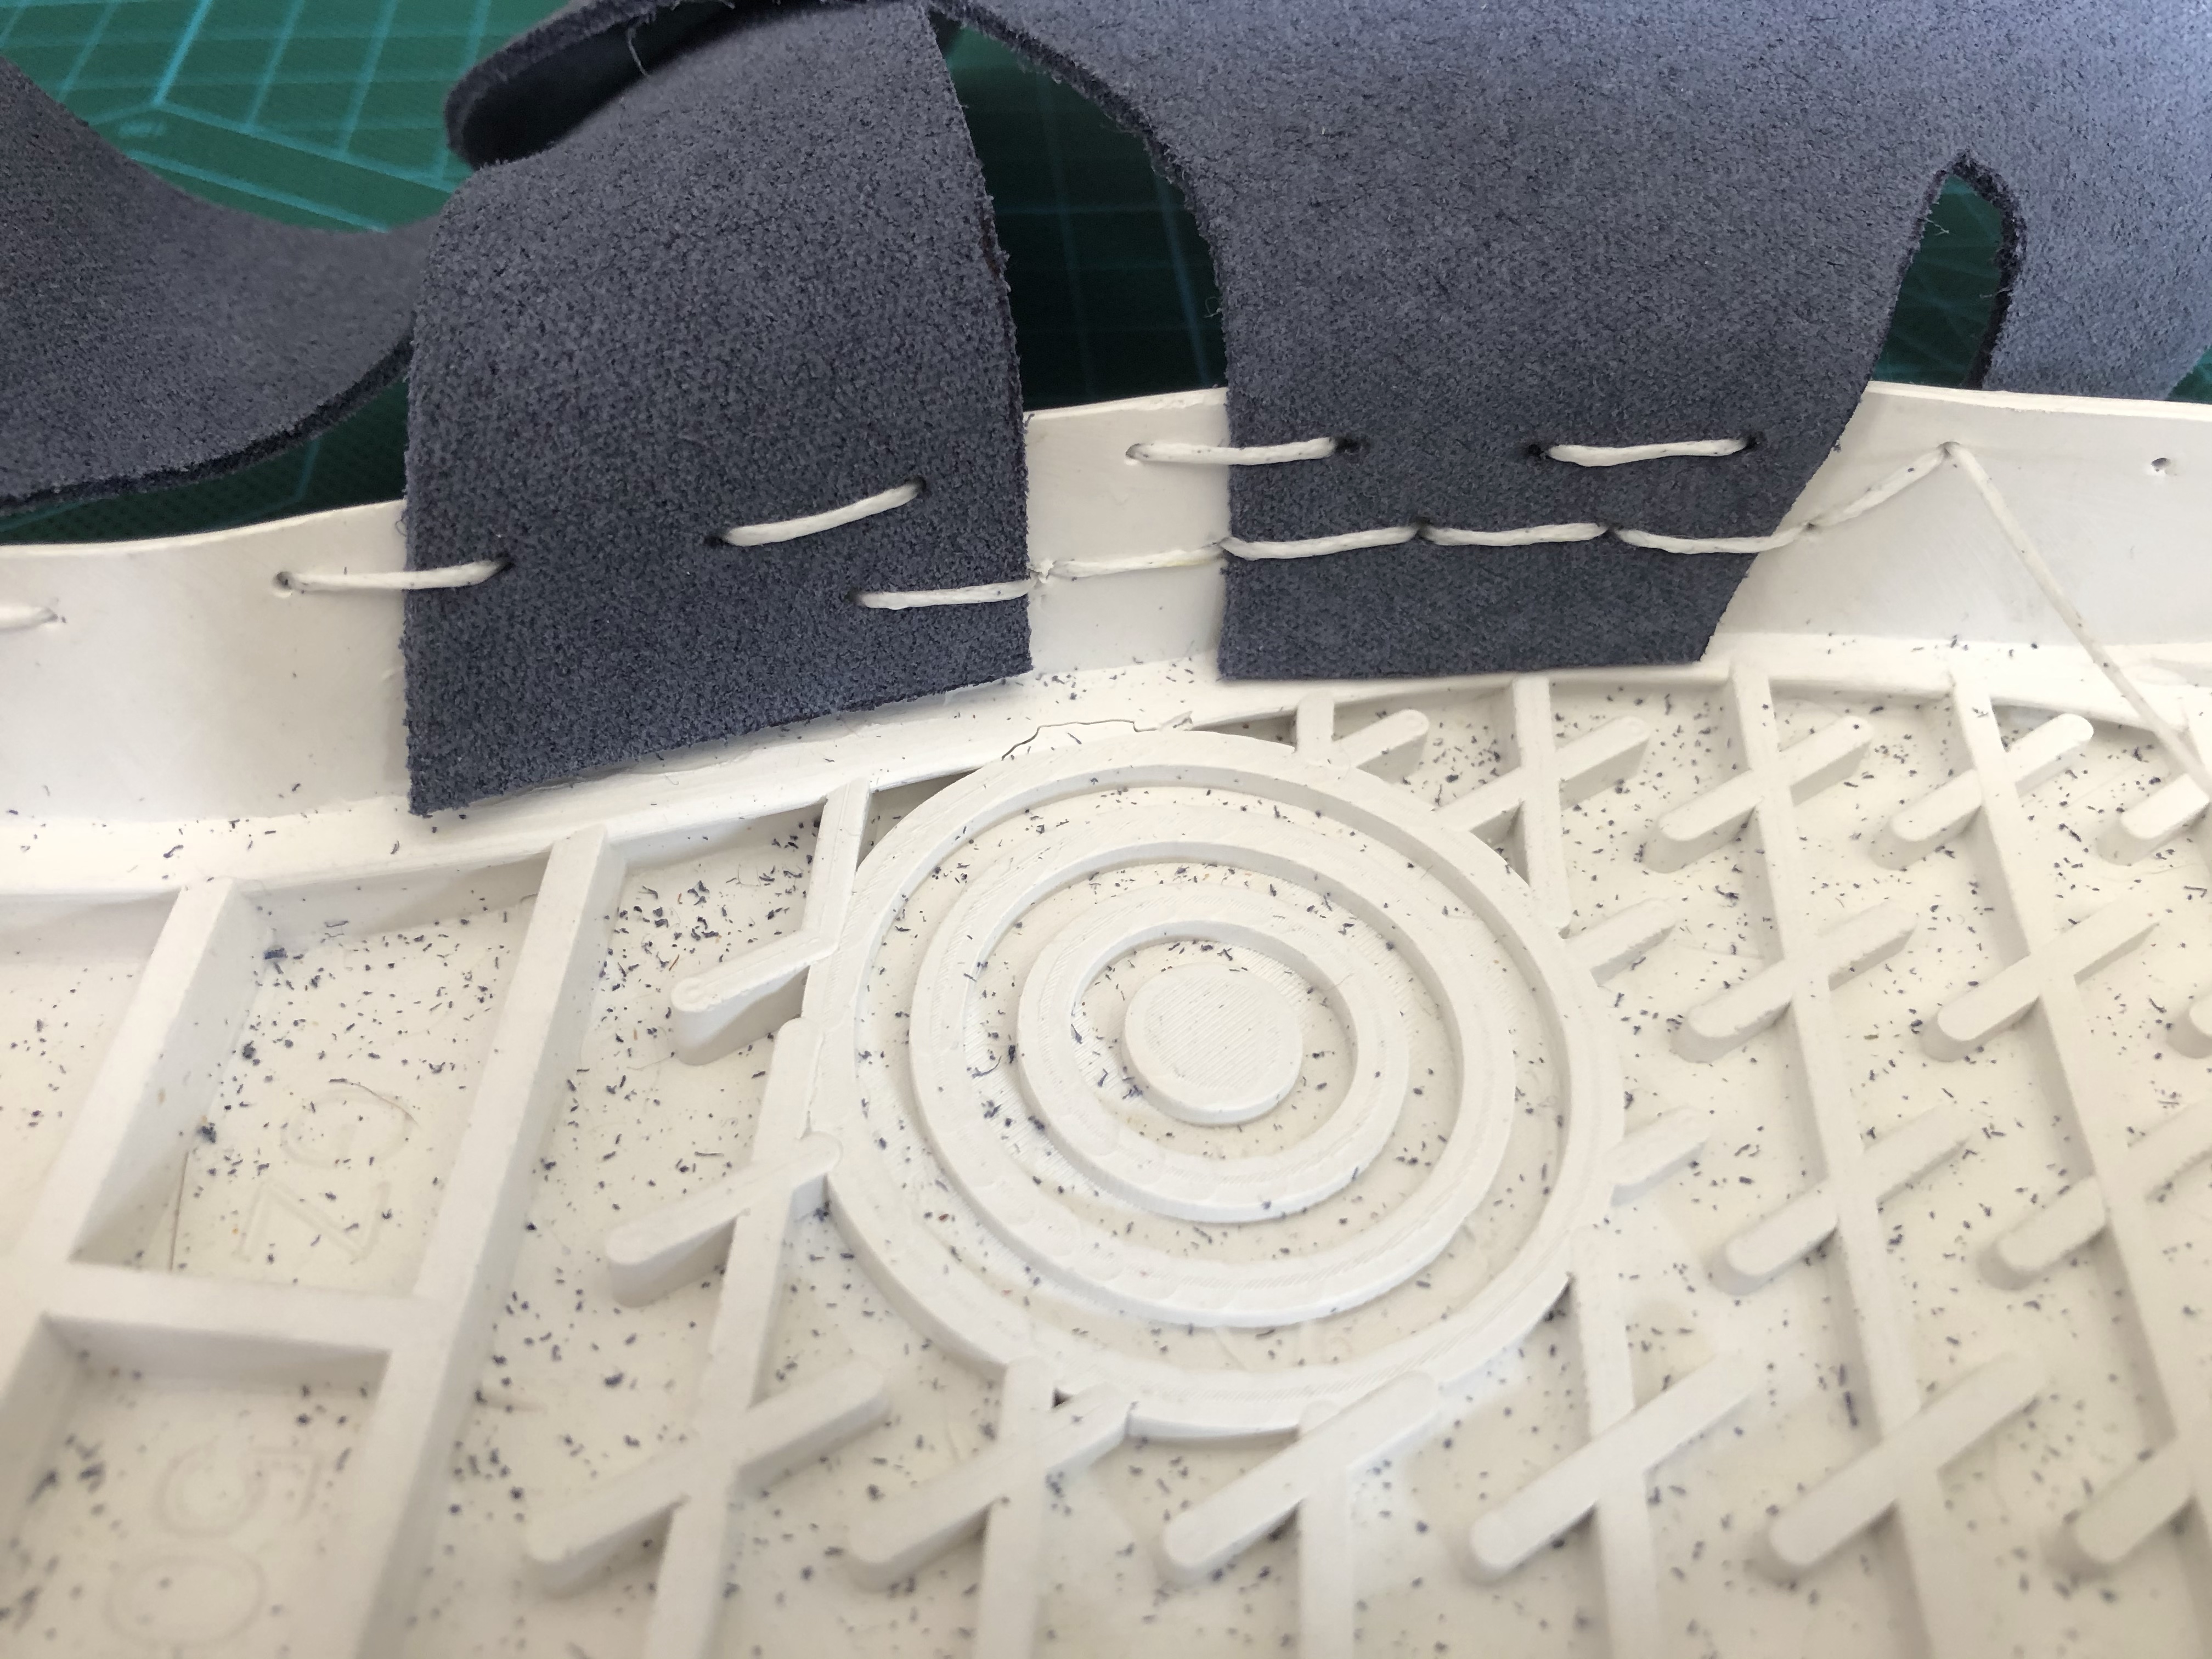
Drop down to the lower row, then stitch back to the top row 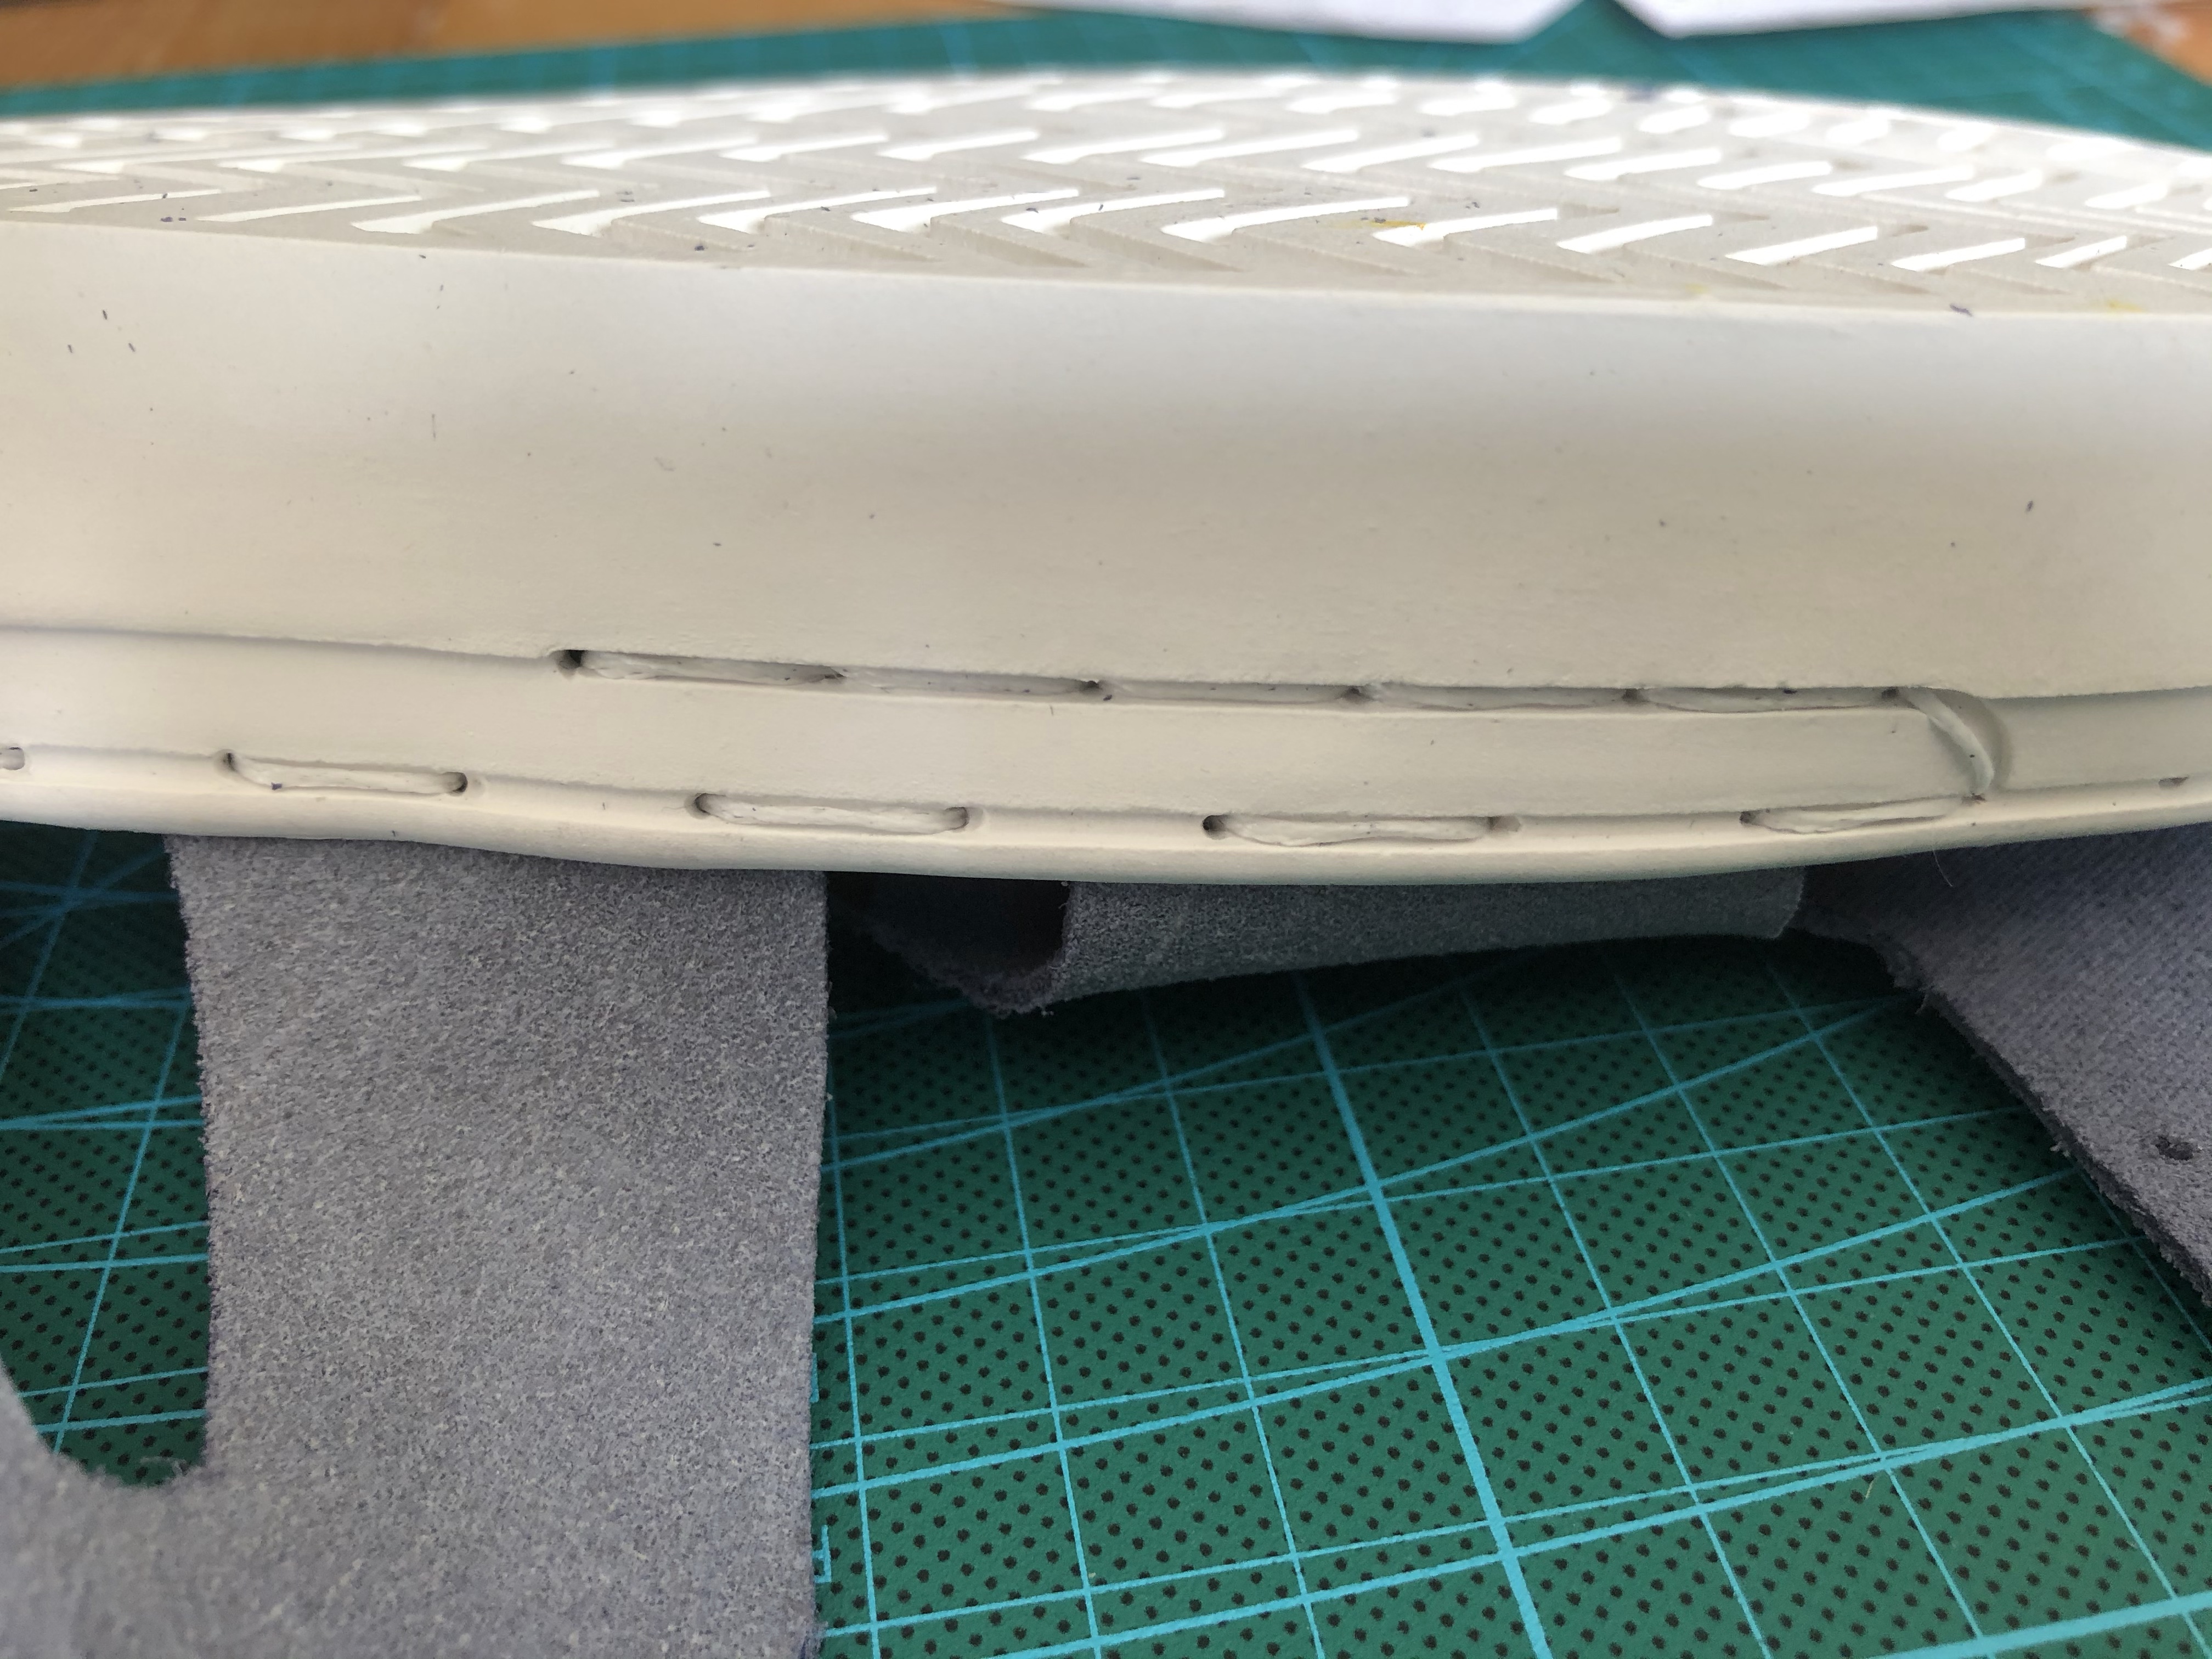
This completes the lower row on one side as a solid line of stitches.
For the heel/side piece there is a three hole gap in the wide notch. It’s important to get that right as too many or few holes in the gap puts the tongue out of placement. Always stitch through the sole whether there is leather or not, so don’t miss a hole. Trust me; there is nothing more frustrating than unstitching.
Next, stitch once through the sole for the next gap, then join the tongue. From here until you meet the heel/side piece on the other side it is a one space gap between each notch.
Continue round the sole with a one hole gap in each notch. 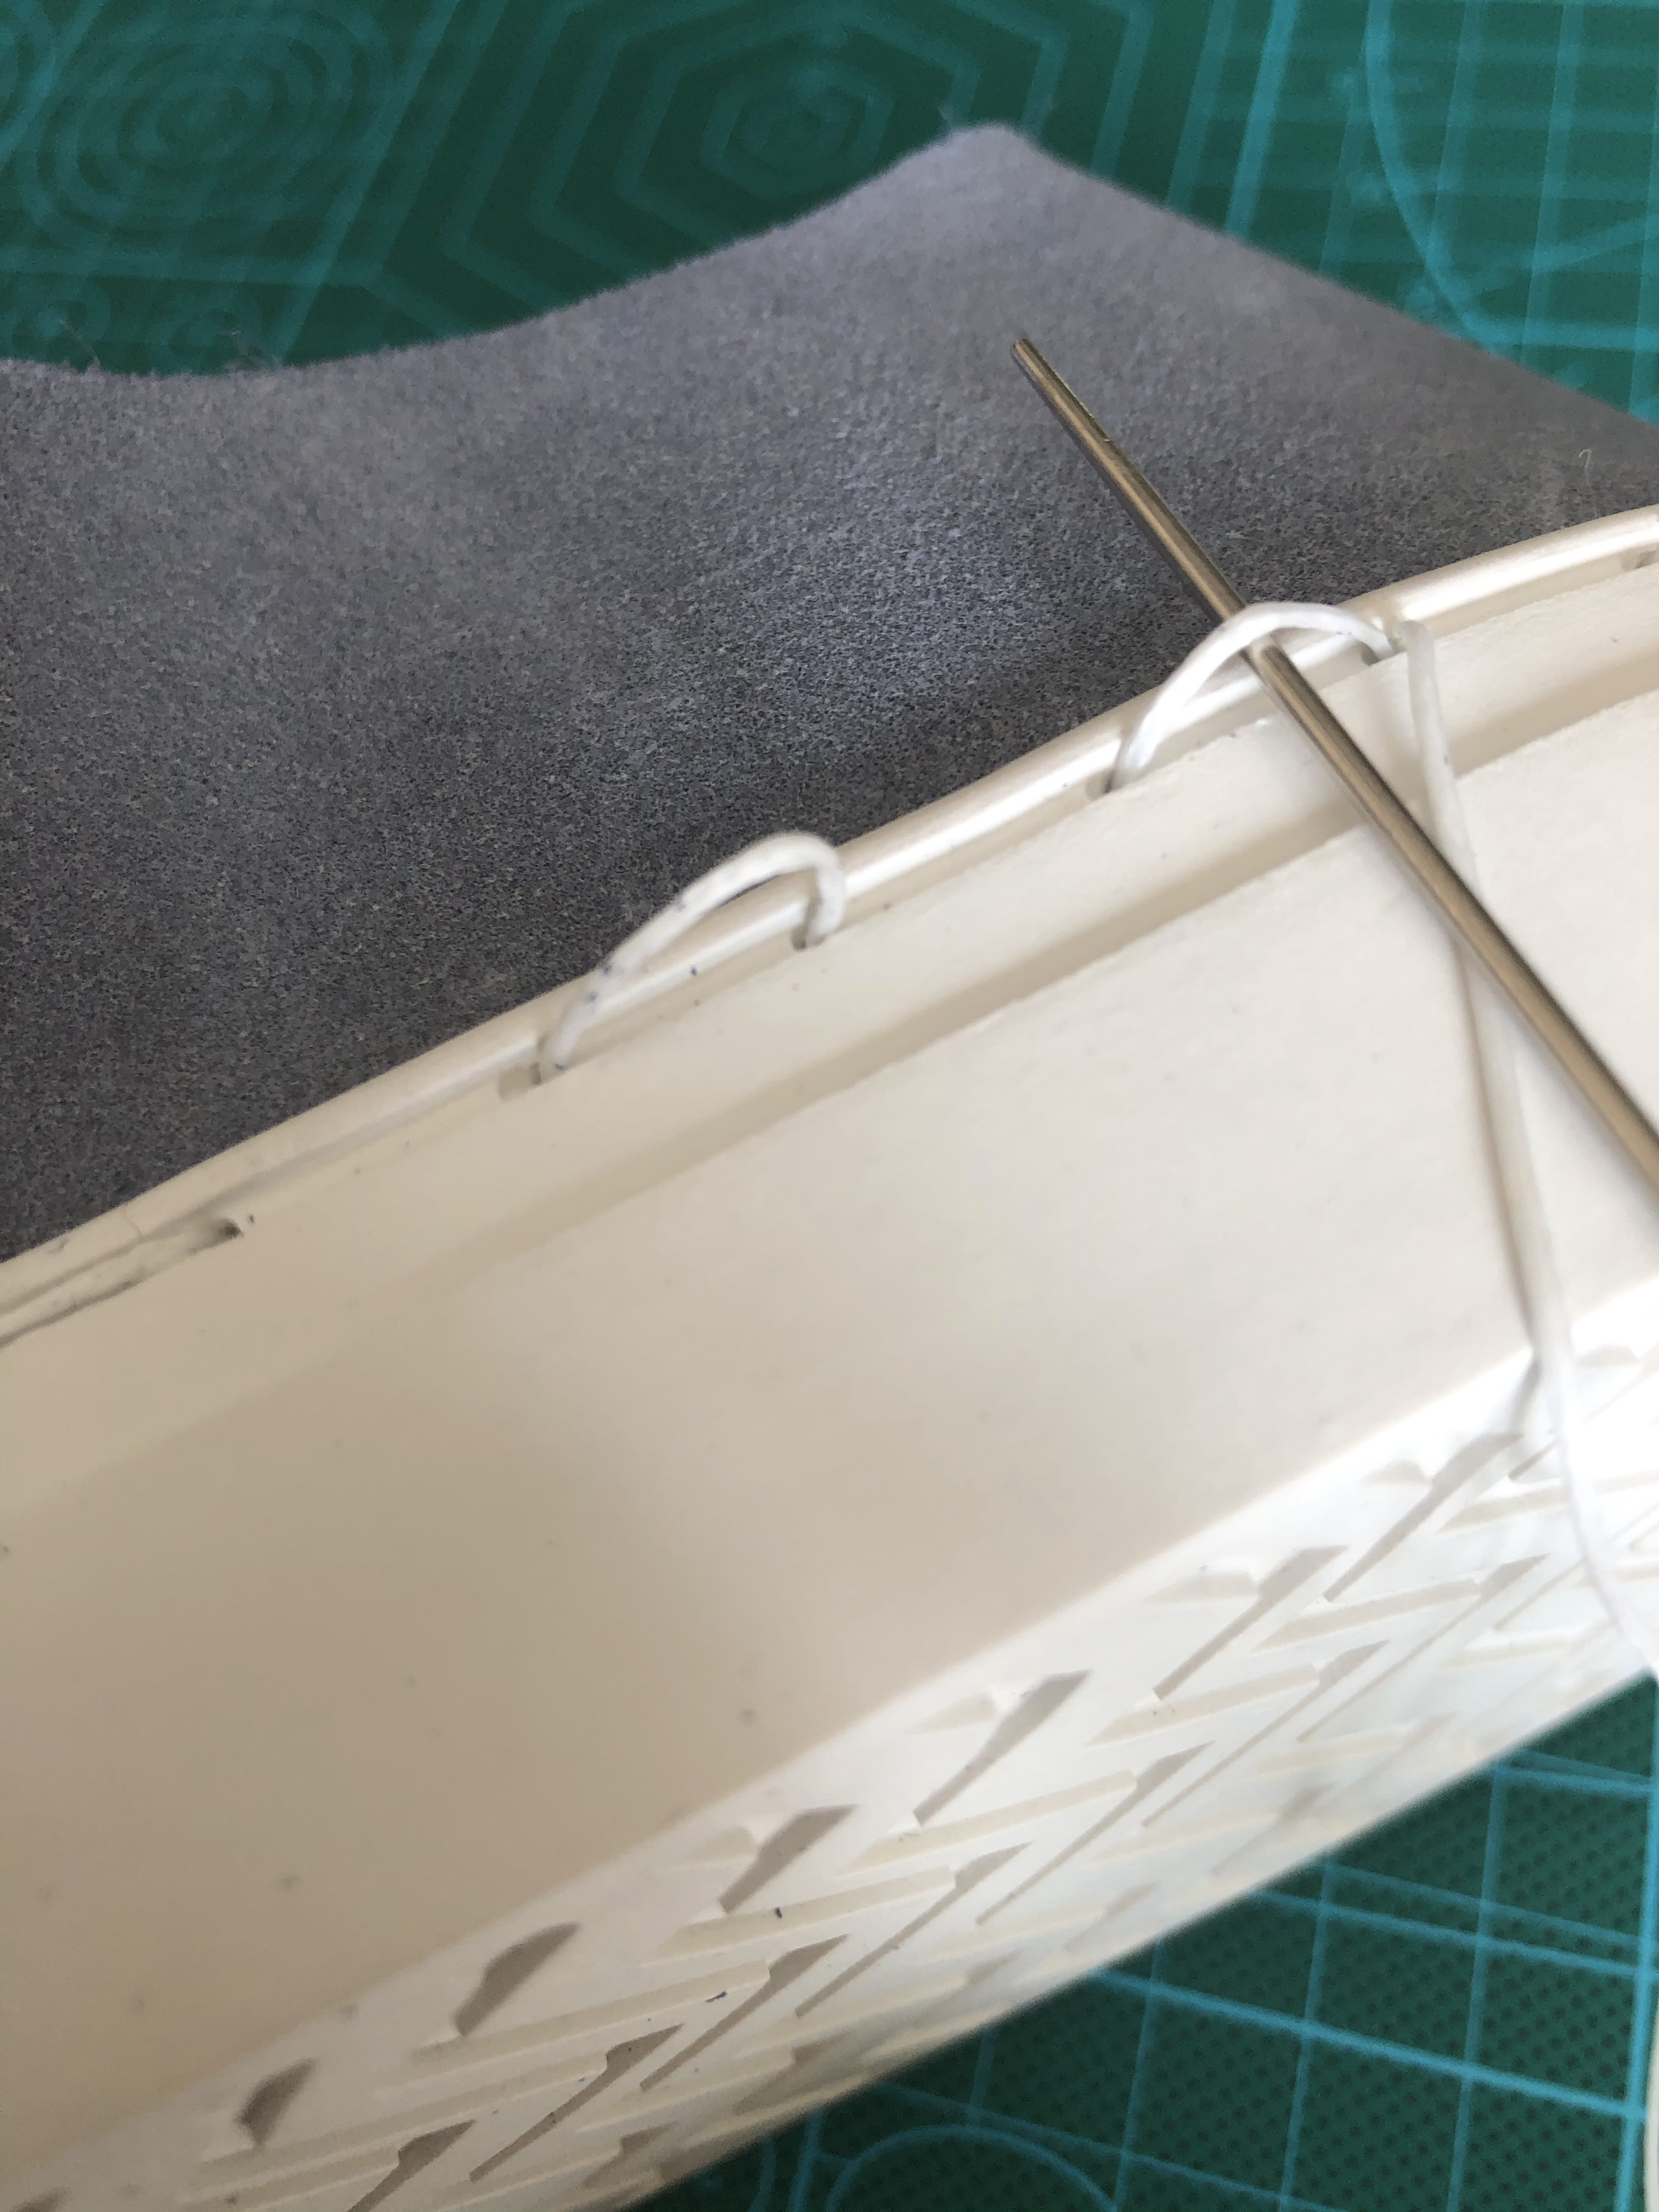
Use the needle to lift and tighten the thread, drawing leather tight to sole. 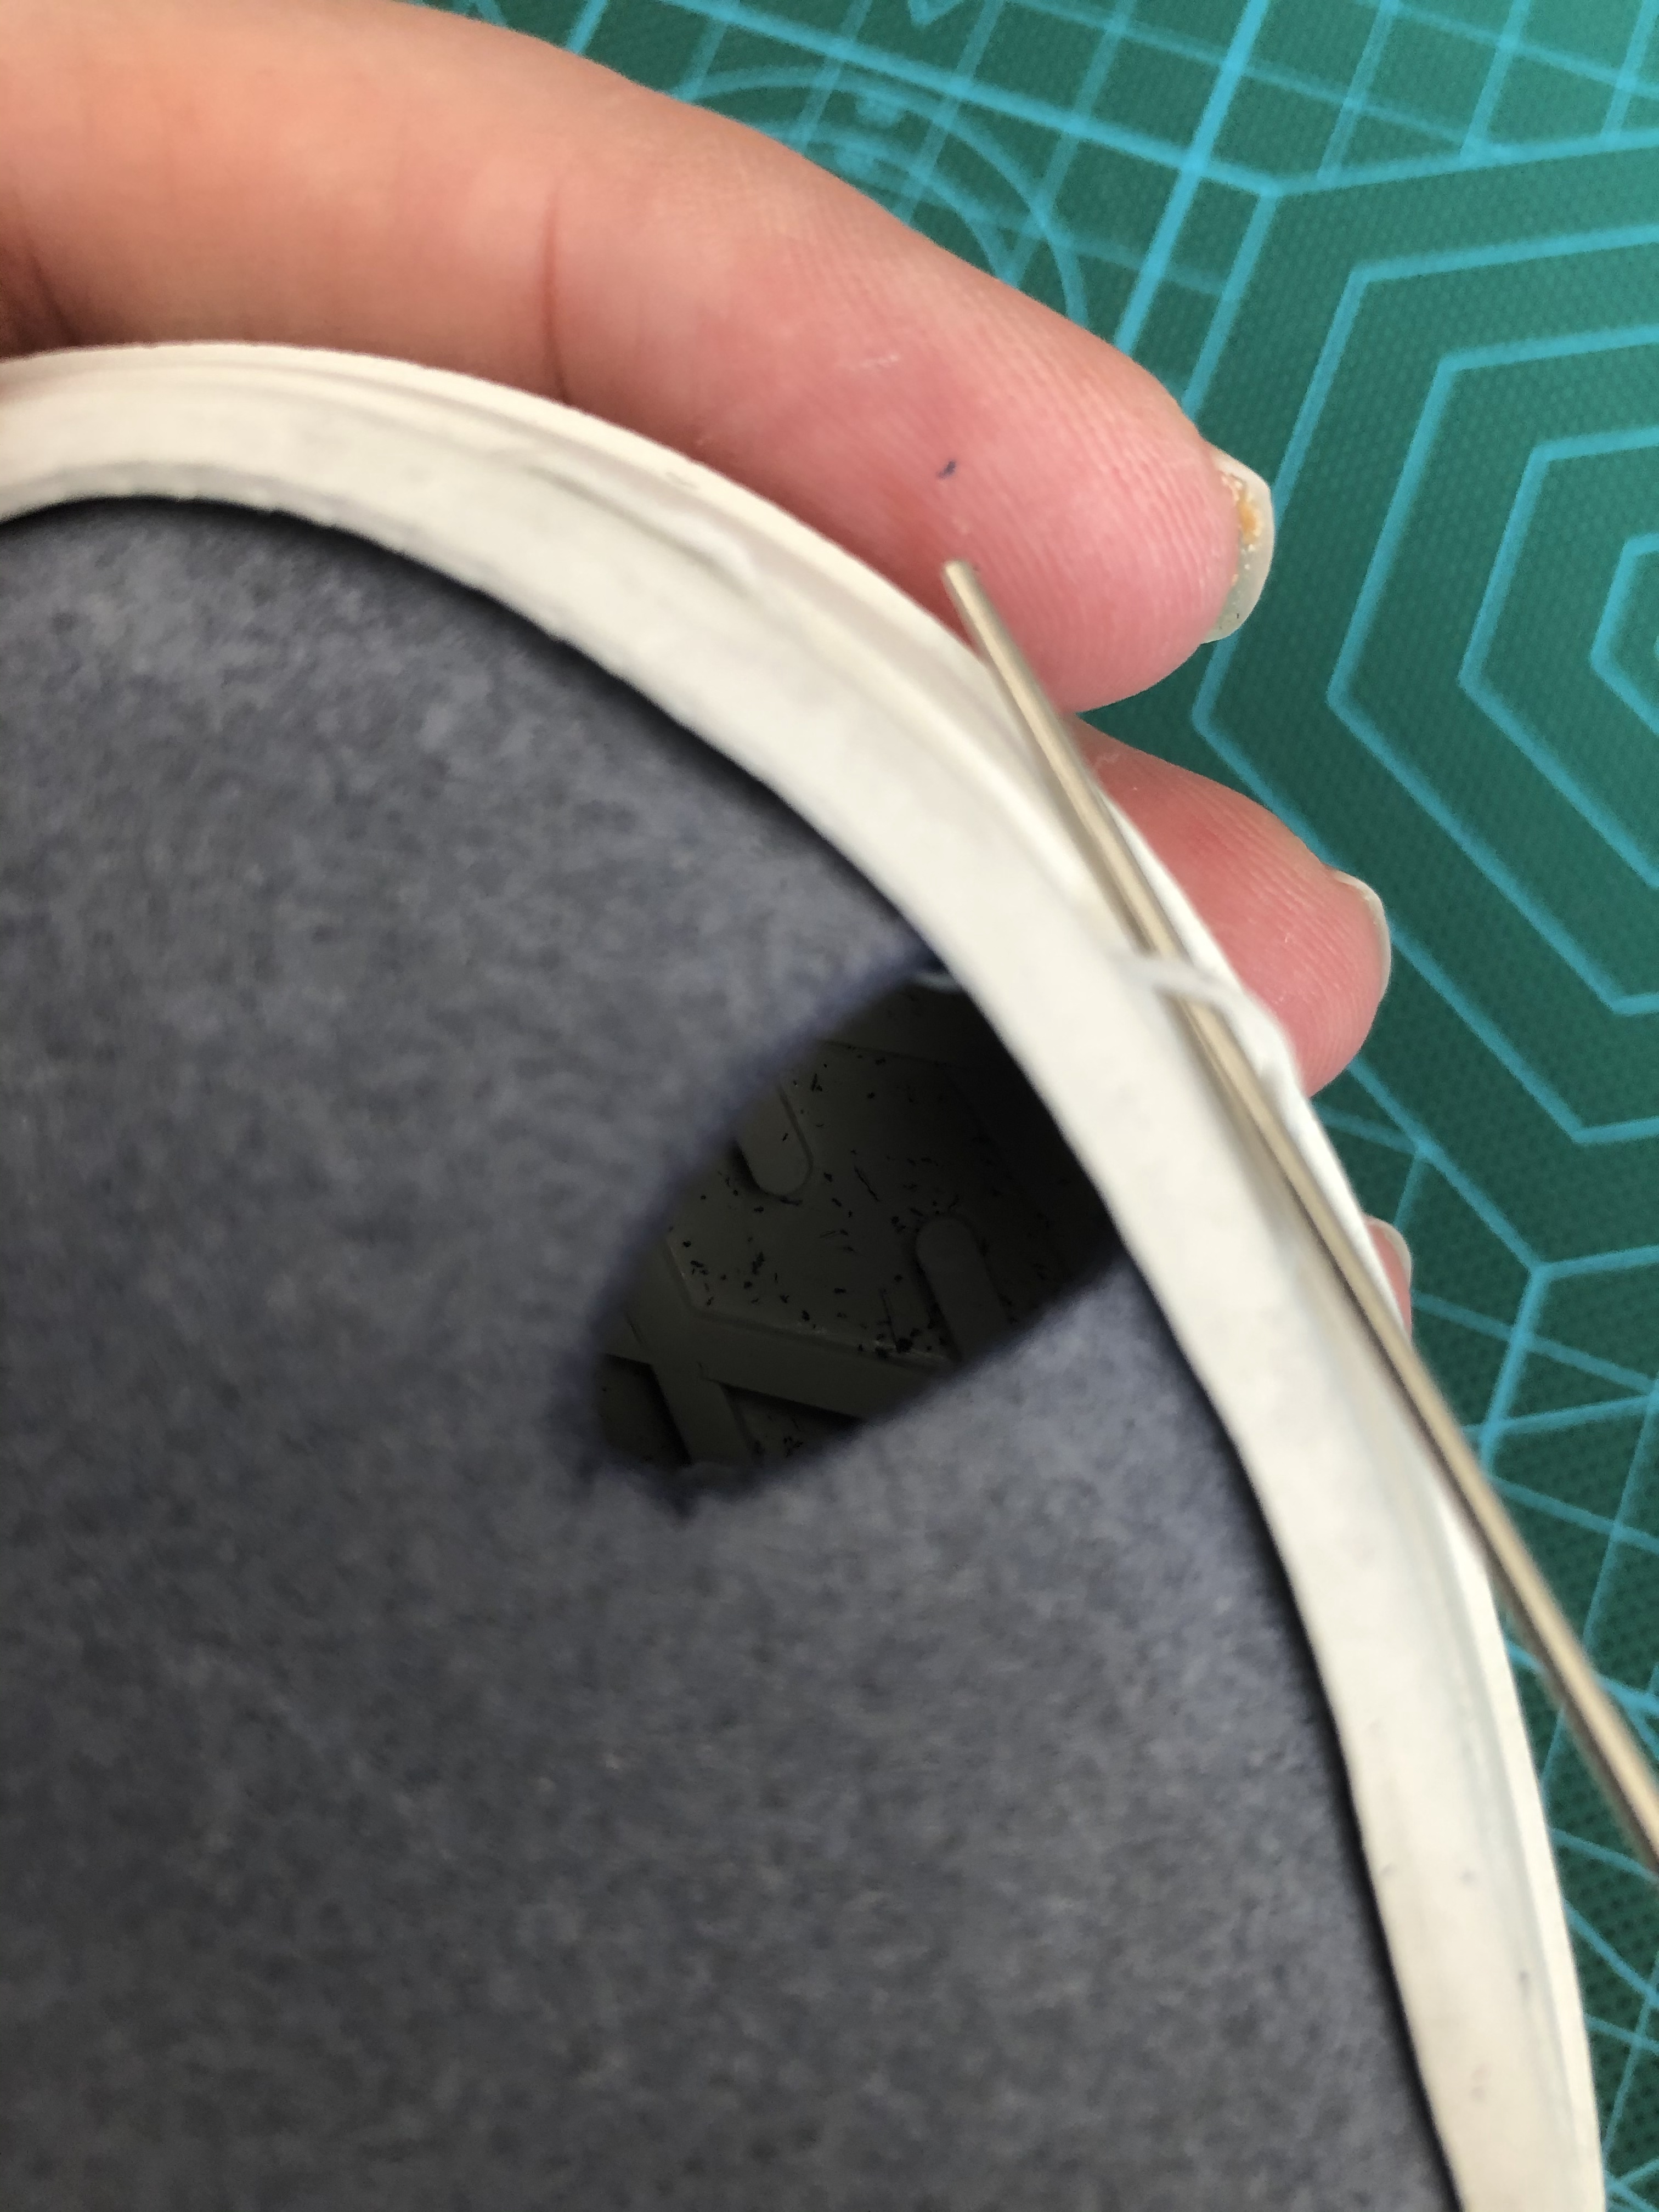
Make sure you don’t split the thread when tightening.
When you get to the heel you sometimes need to enter at an angle to catch the holes in leather and sole. It’s not always a 90 degree angle of needle to sole. It can be tough on the reverse because of this and also, in places you have limited visibility when threading from the inside out. Sometimes, it is simply feel and luck. Other times, you may have quite a few attempts before you spear both holes.
Here, I have a video of me stitching. You can see it can be quite tough going, and if you cannot get the holes lined up, you can gently pull the sole away from the leather to help see where you are going. When you make a traditional sneaker, you have no cutouts at the sides, so it can be challenging to see where you are pushing the needle through. For much of the toe end of these sneakers, the cutouts are a benefit because you can see where you are next and use the notches to see where to stitch. And, if you have larger hands, it can be challenging at the toe end in the reverse stitch phase.
As I mention in the video, the final step is to cut the threads short and melt them to secure. Be careful here as you don’t want to melt a stitch. If you do, a purist view would be to unpick it all and restitch. Alternatively, you could cut a short piece of thread and stitch through the sole and leather either side of the melted stitch, then melt those ends. You will have a double lines, but it is not overly visible.
It also depends on how much thread your have. In the kit you have enough for three attempts. Essentially, a pair and a half of sneakers.


Complete the sneakers with either plain punched holes or with eyelets. The eyelets will make a hole more secure, although some prefer a natural look.
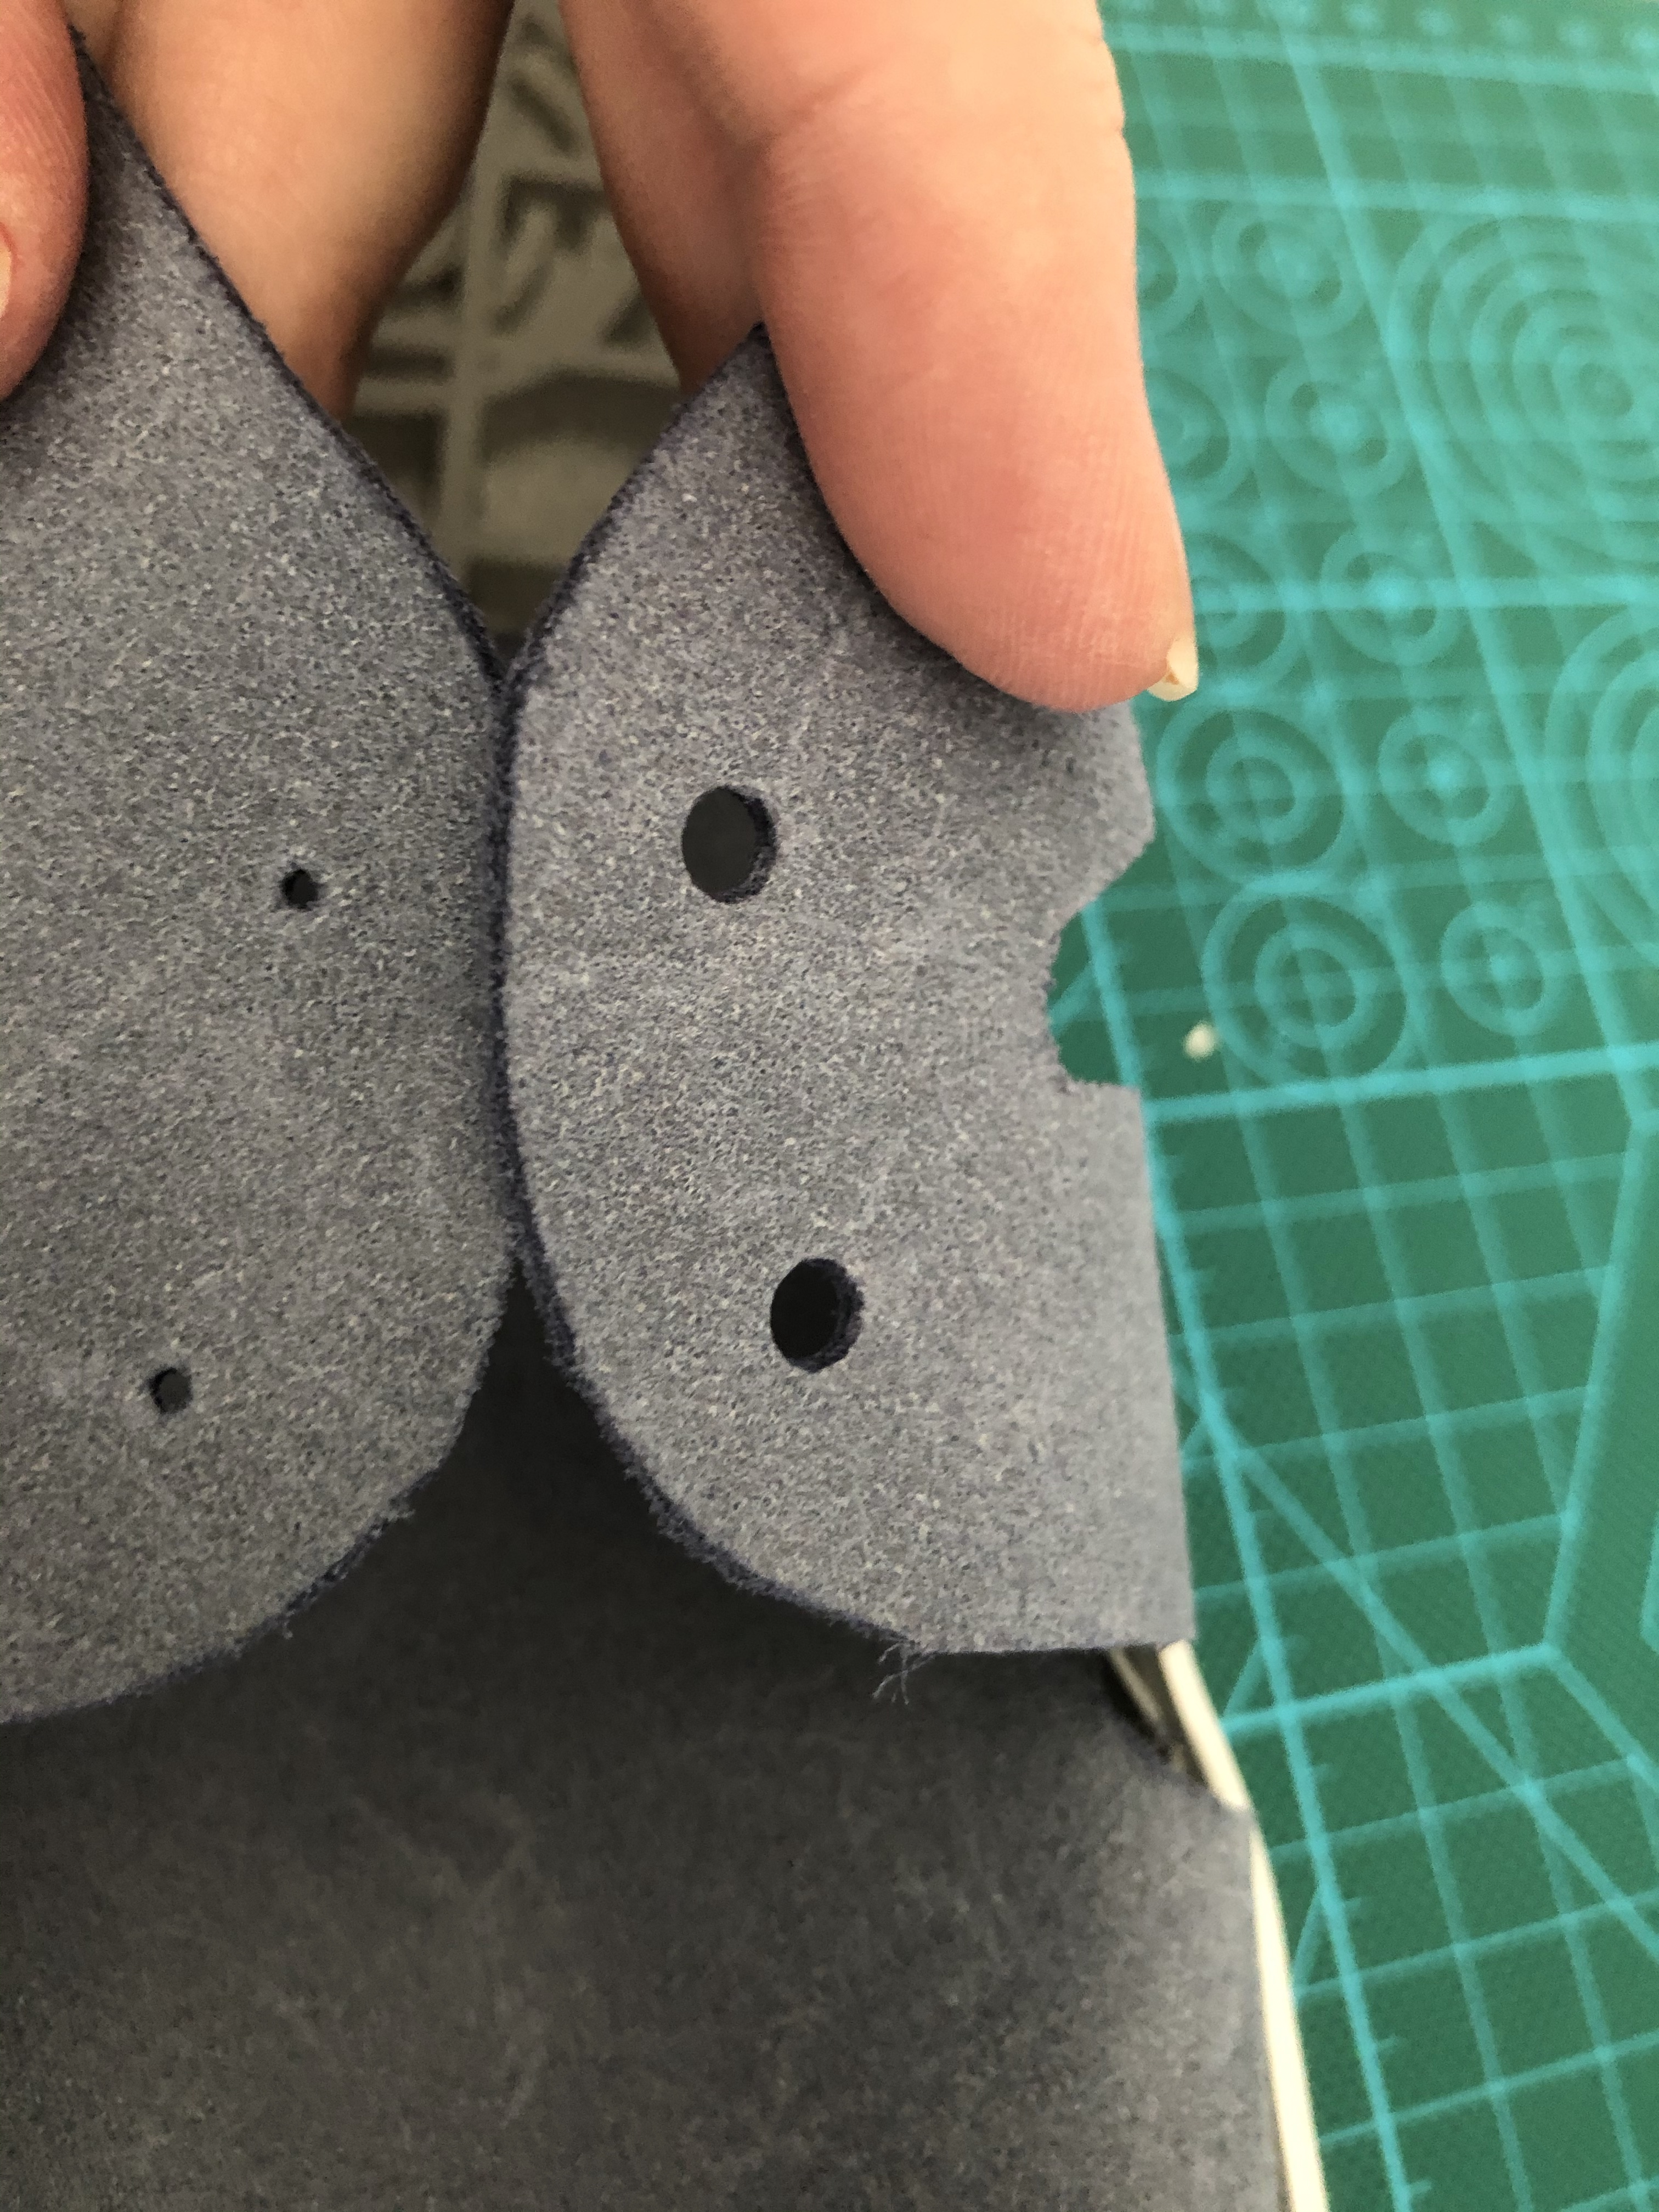
Use the largest punch for shoe lace holes and eyelets 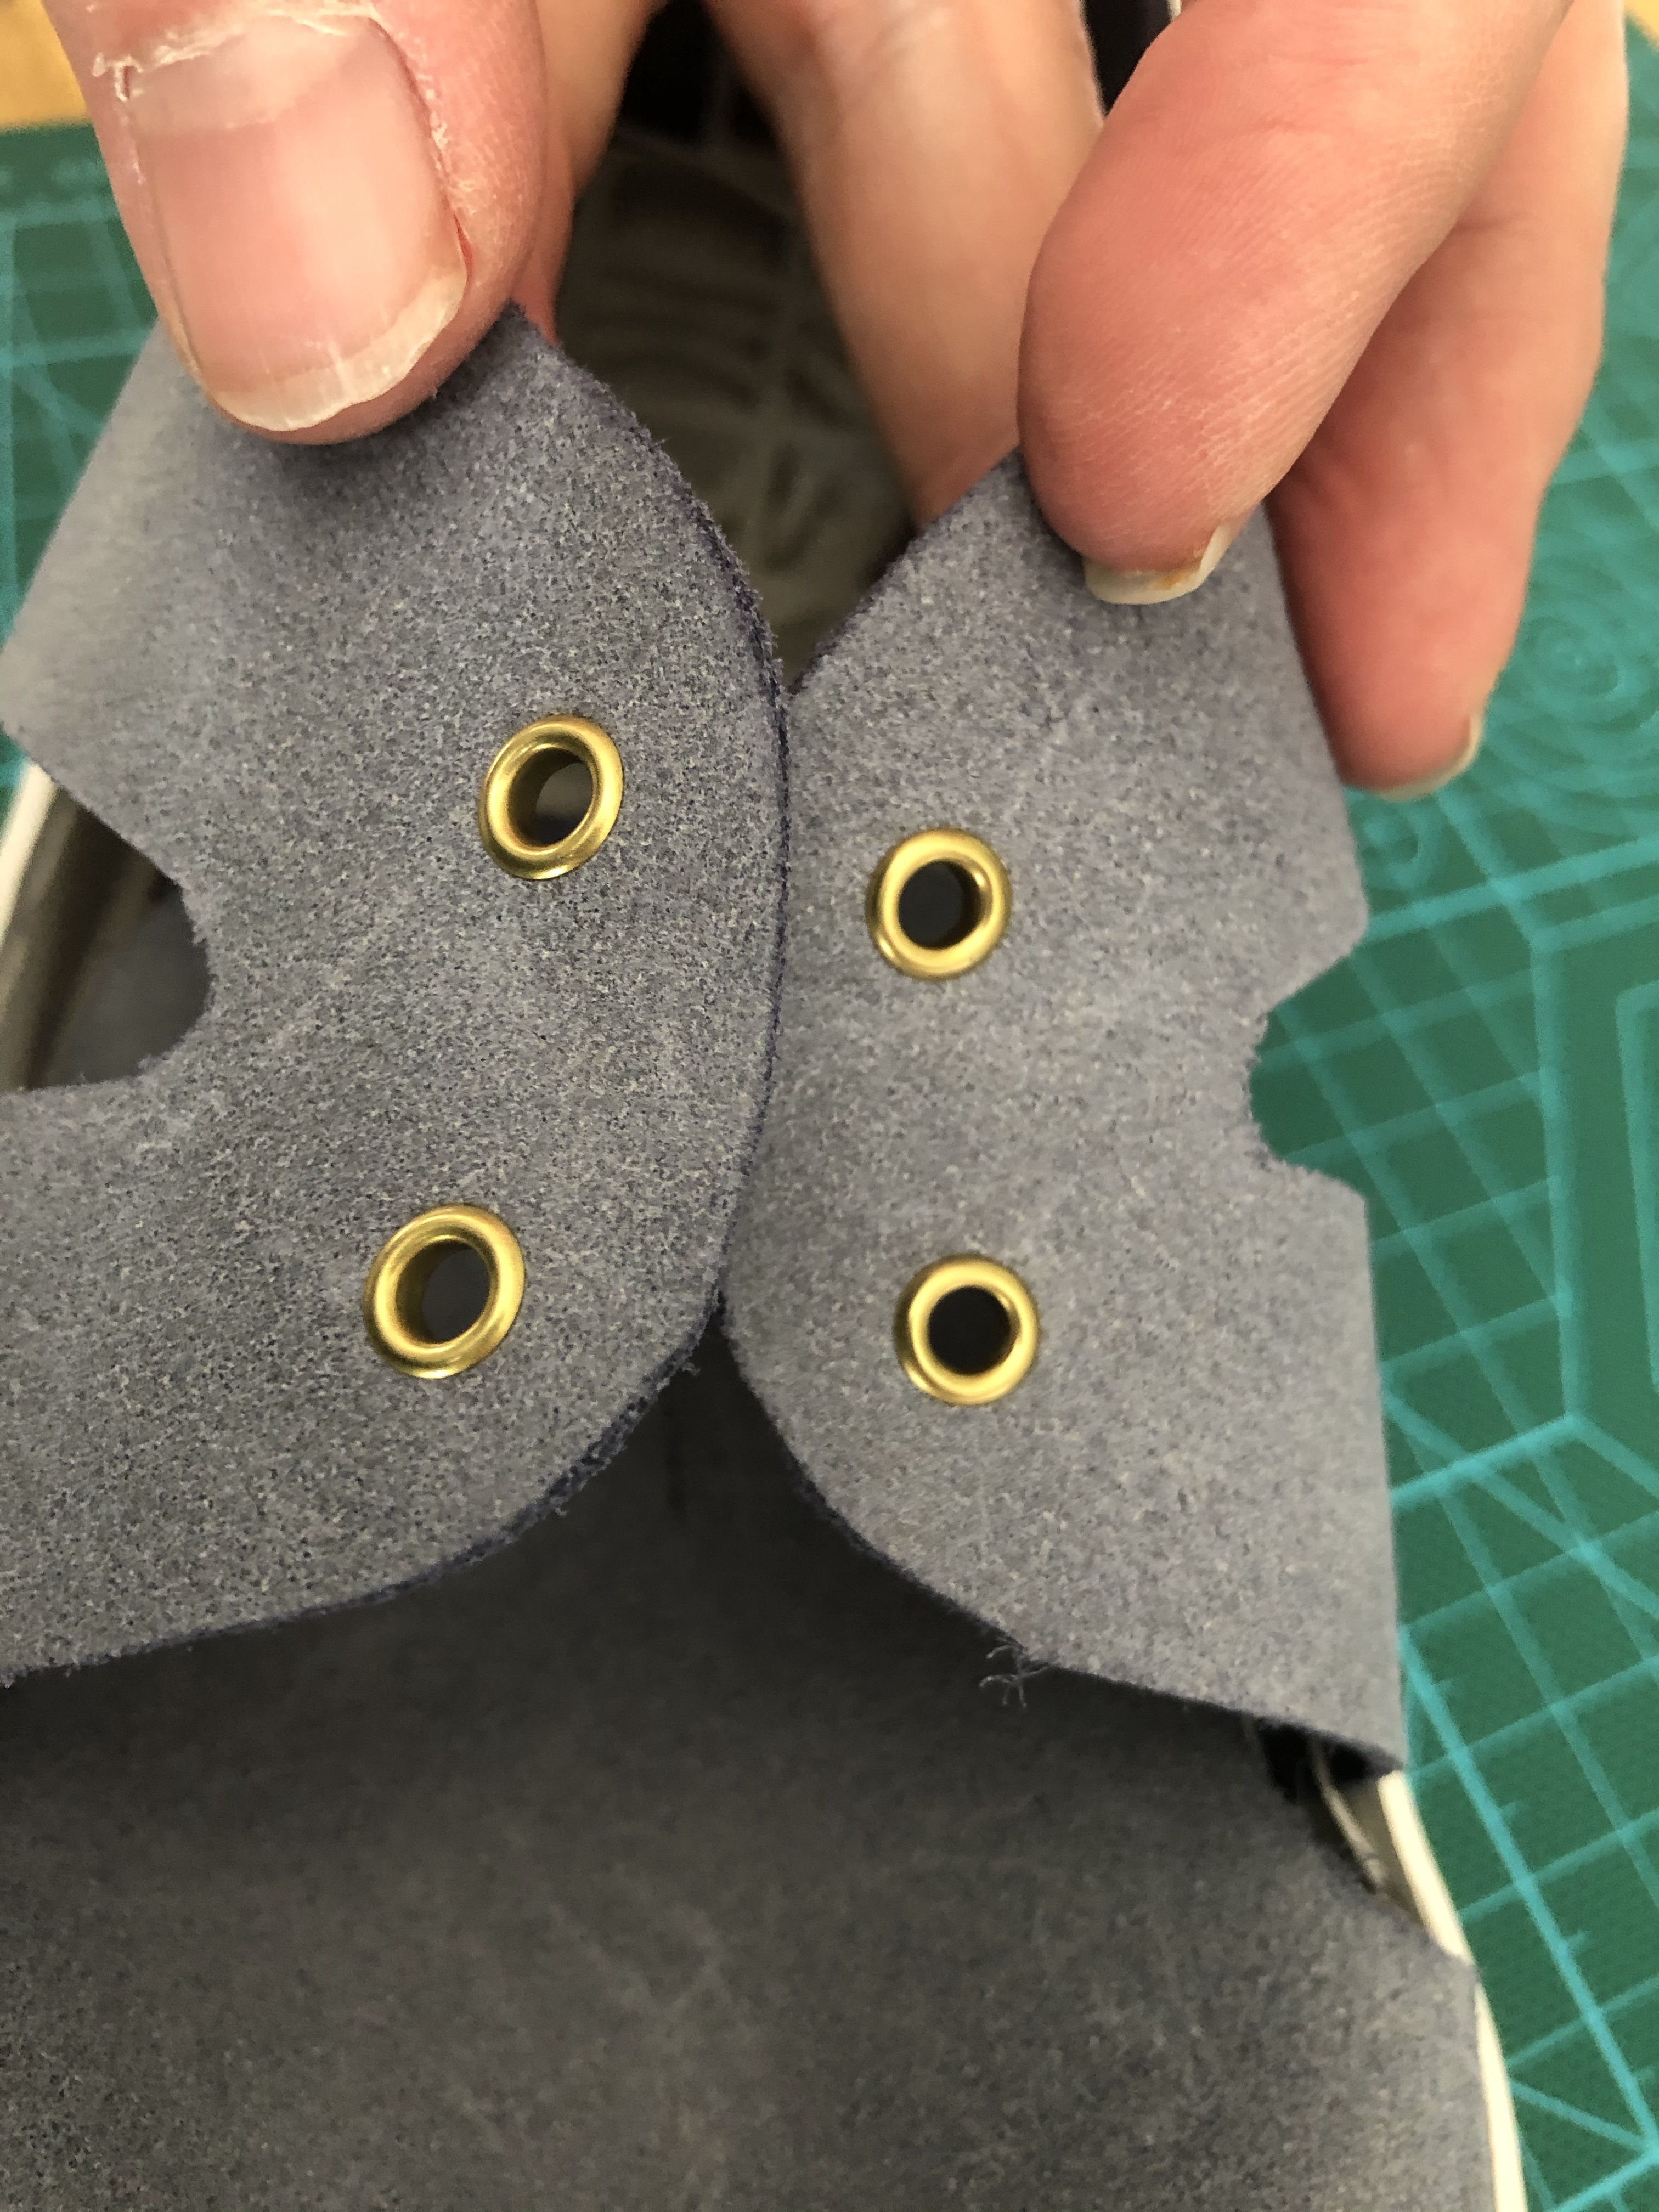
Use the press punch to secure eyelets.
In total time, from cutting out the templates, through making the eyelets, I would suggest it is roughly two and a half hours. It depends on how quickly you stitch, if you run into issues and need to unpick, and if you do the traditional sneaker, how well you manage stitching in the toe end.
The workshop I did last year, was 10 until 4 pm, but that included instruction and lunch, plus unfamiliarity with leather worker.
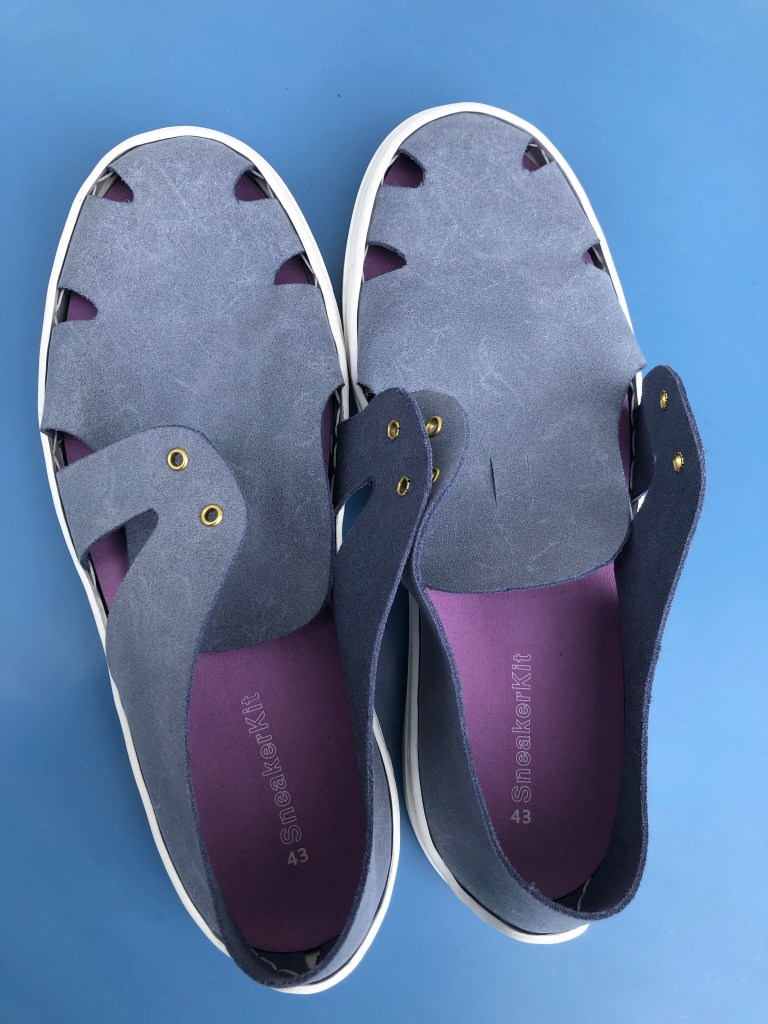
And here are the finished sneakers, modelled by yours truly.
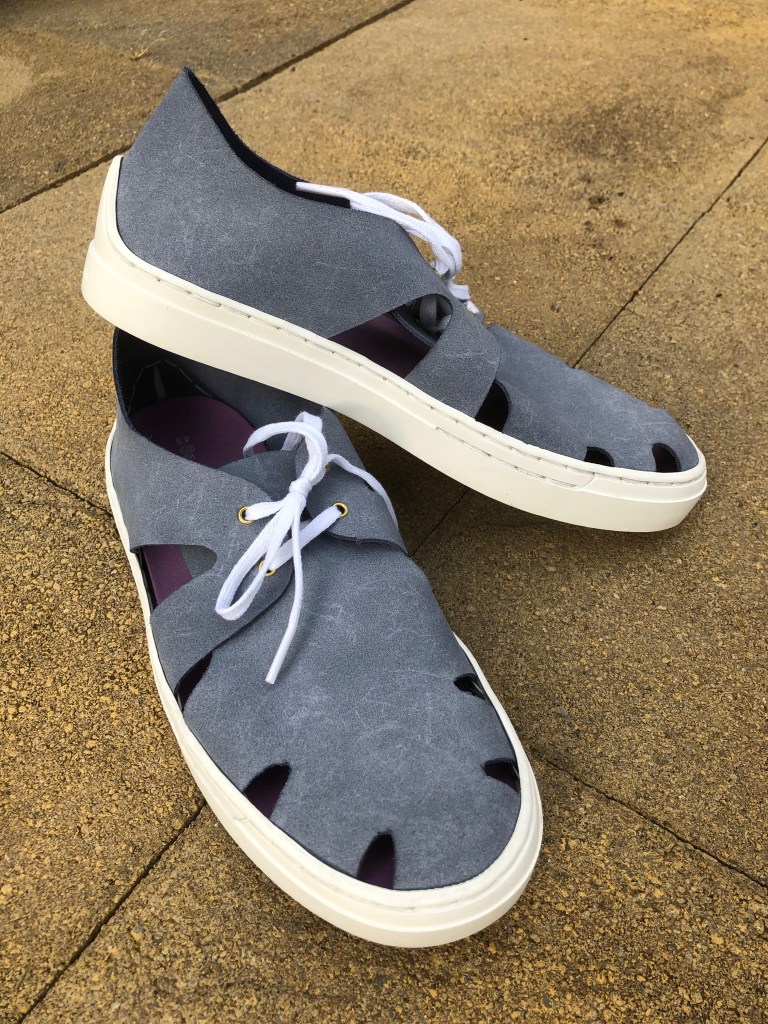
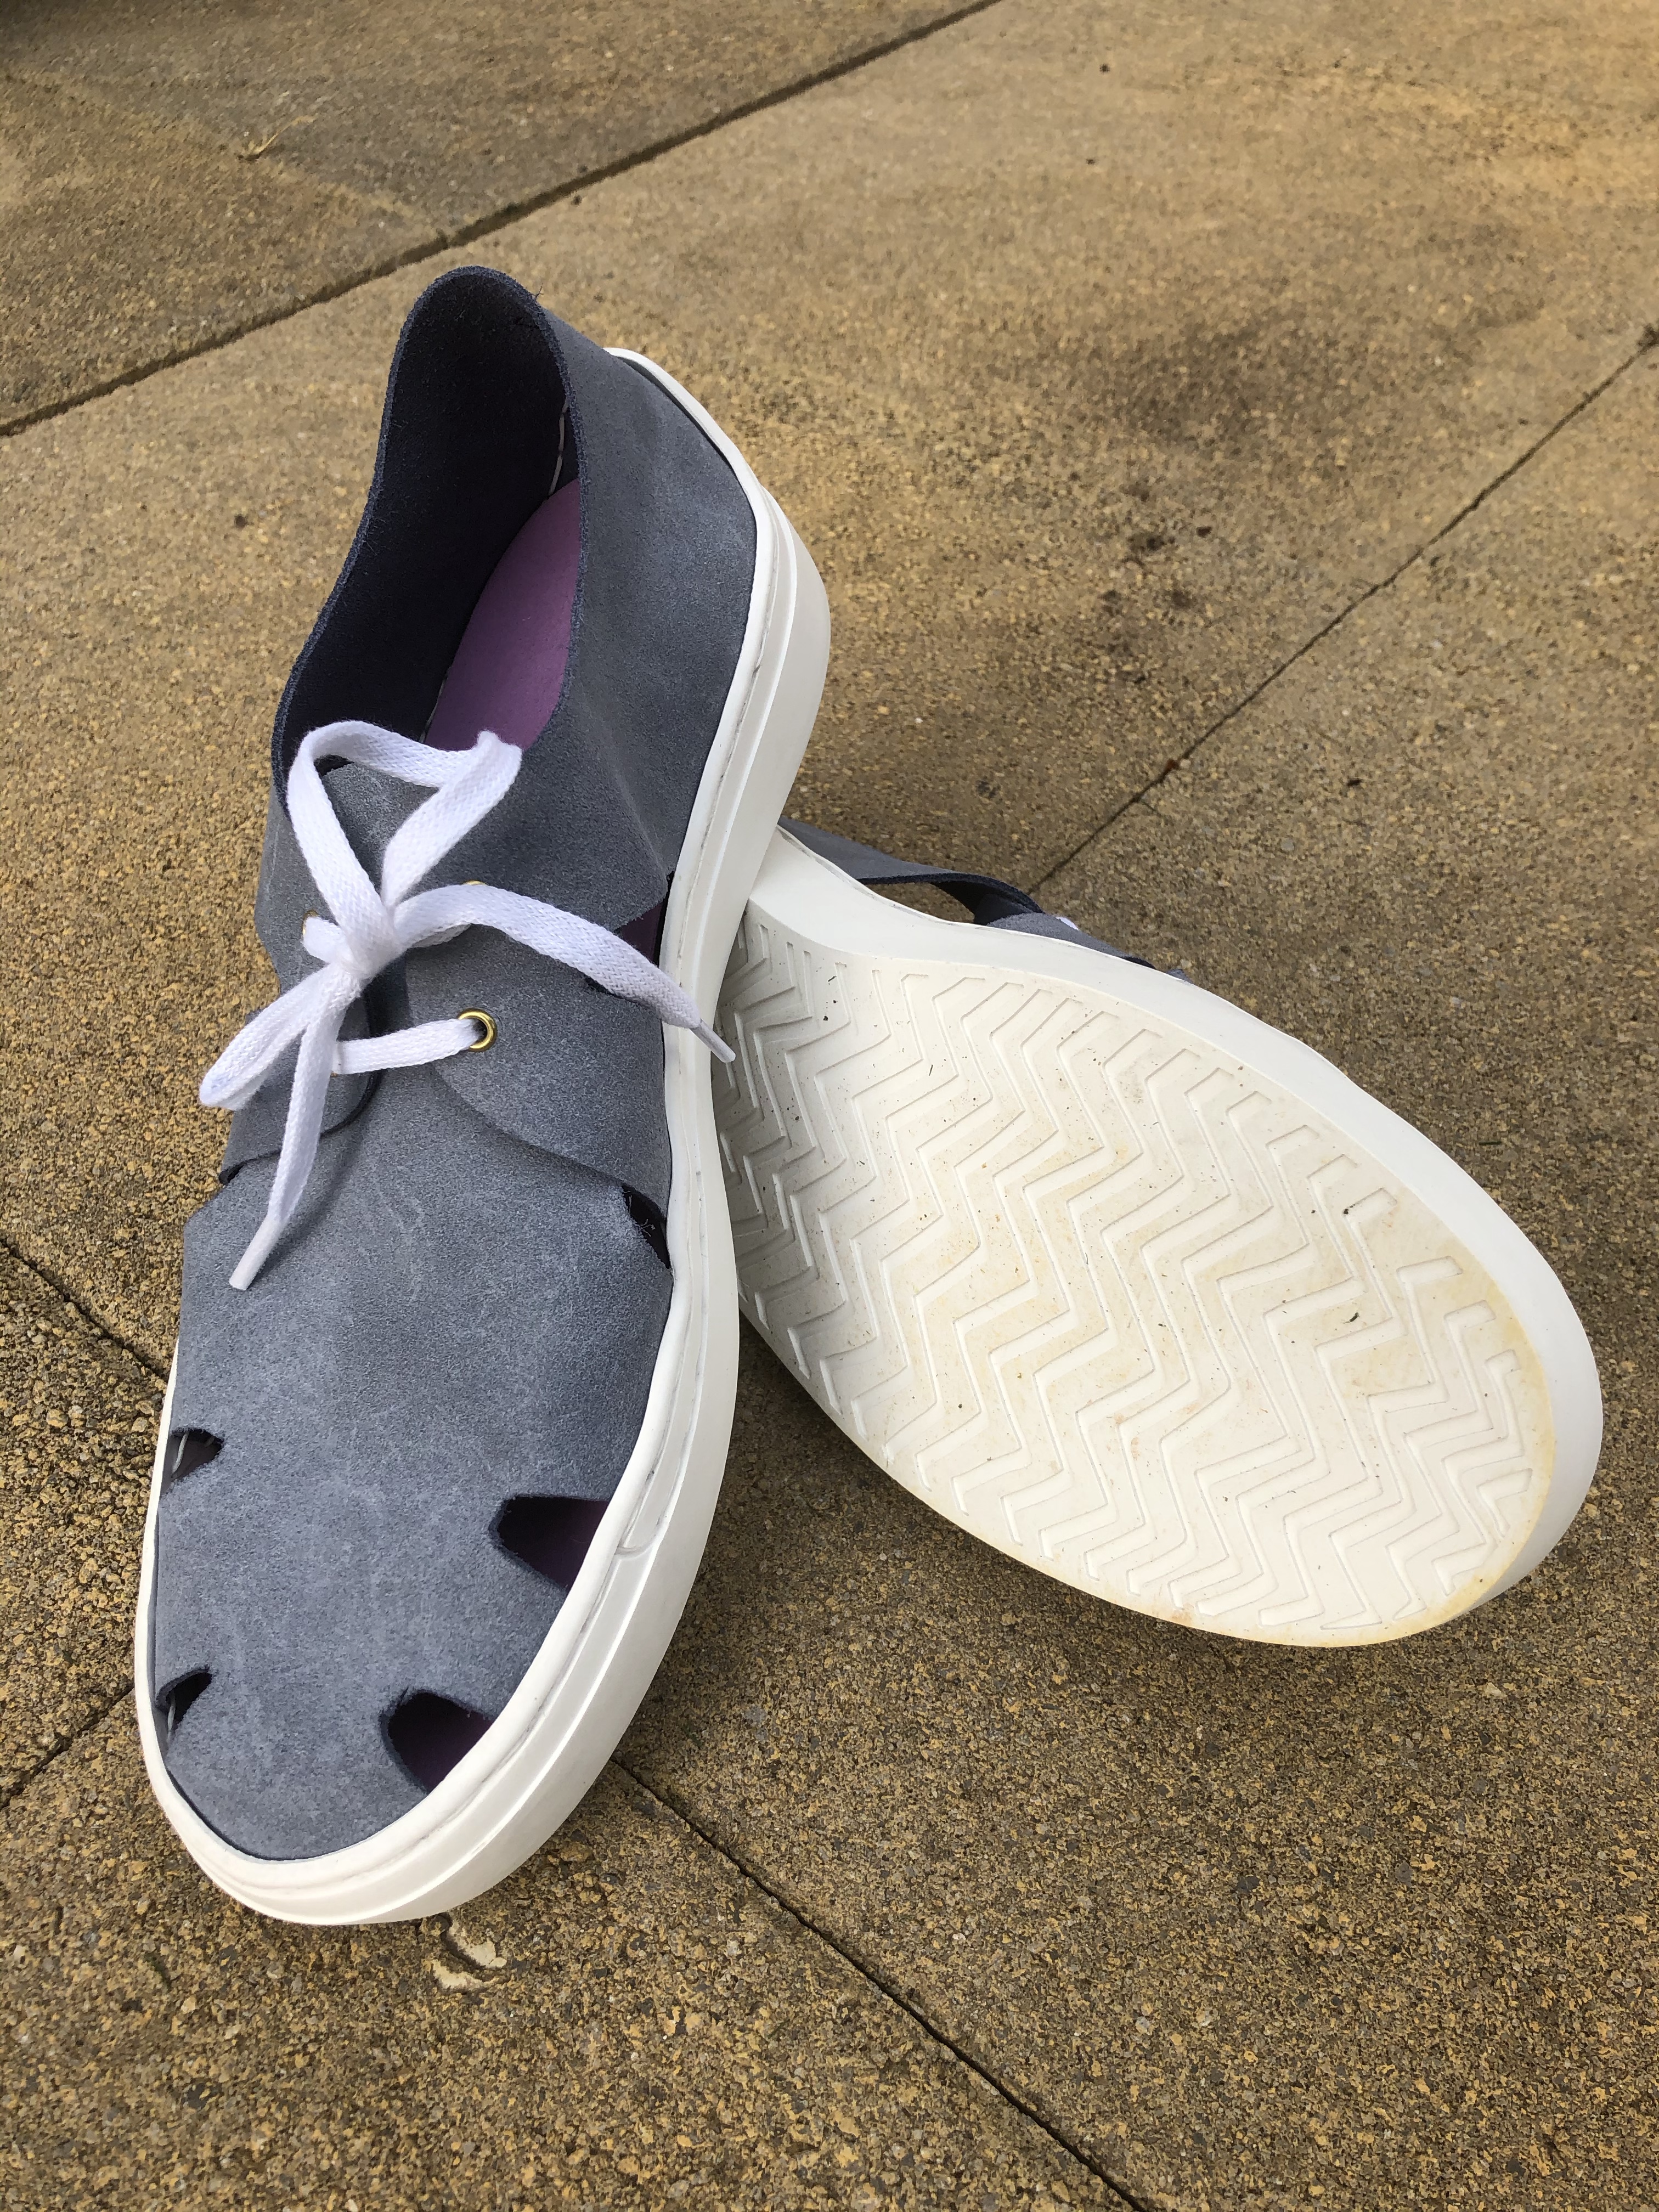
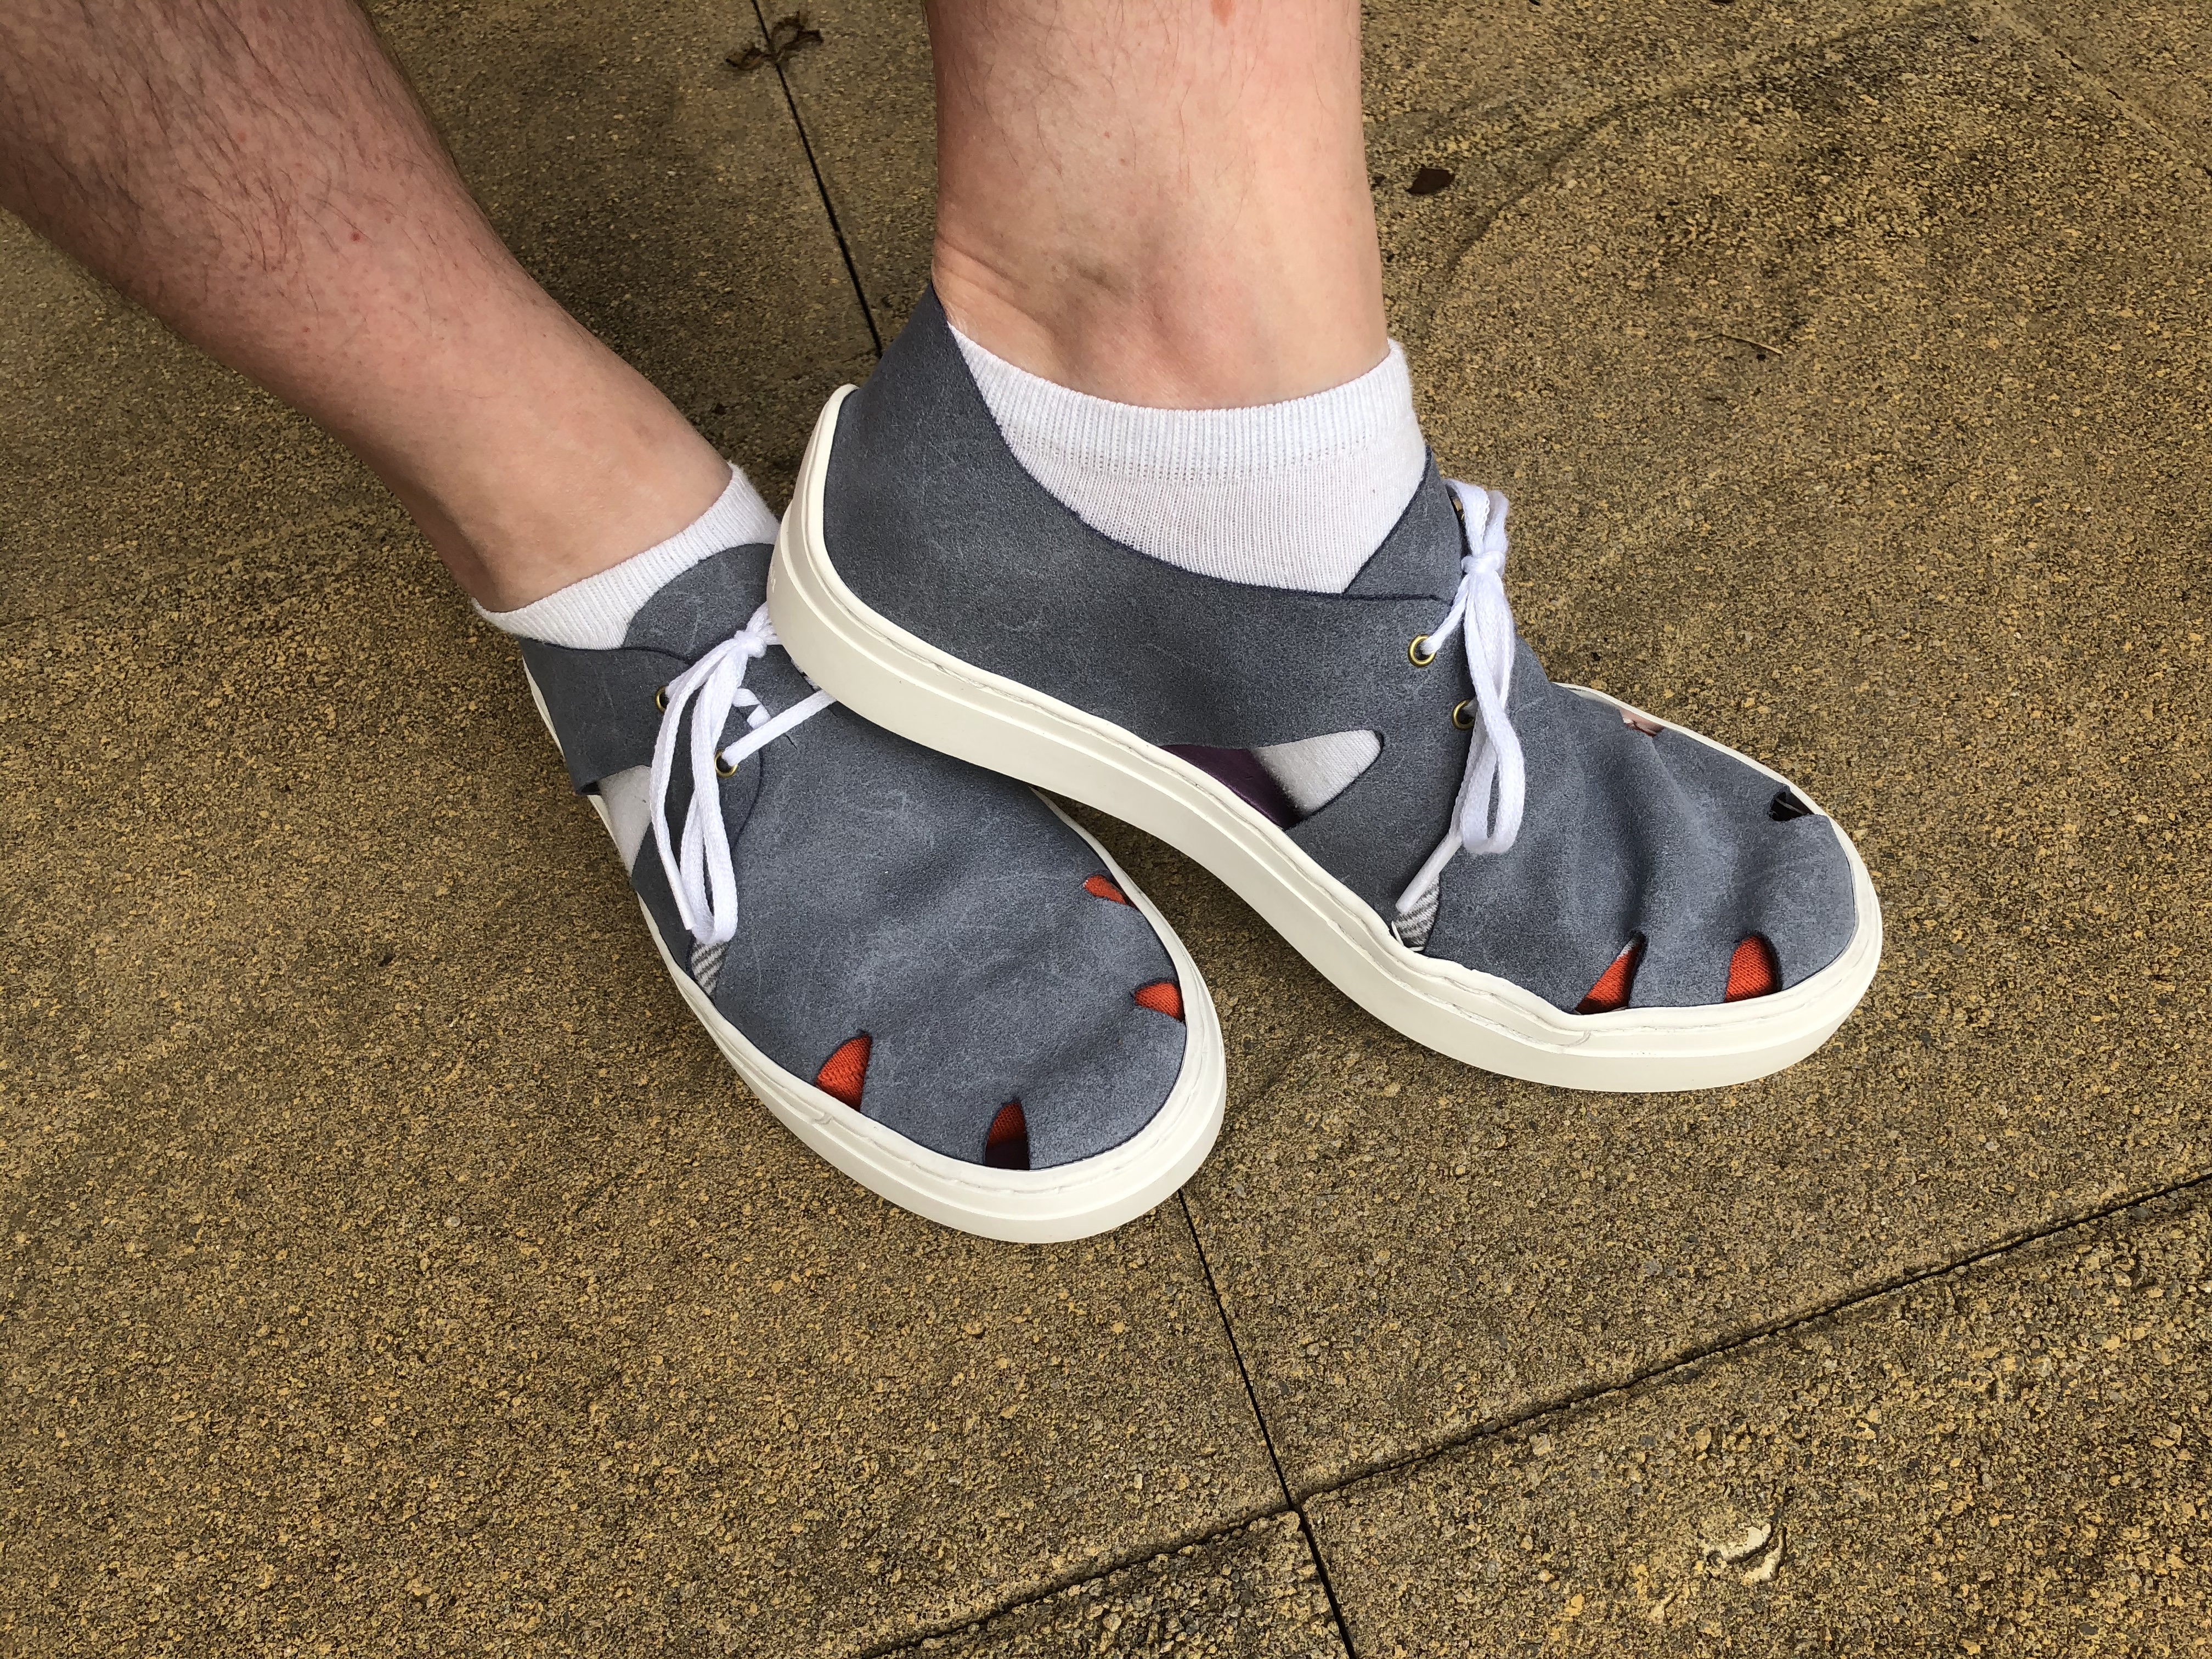


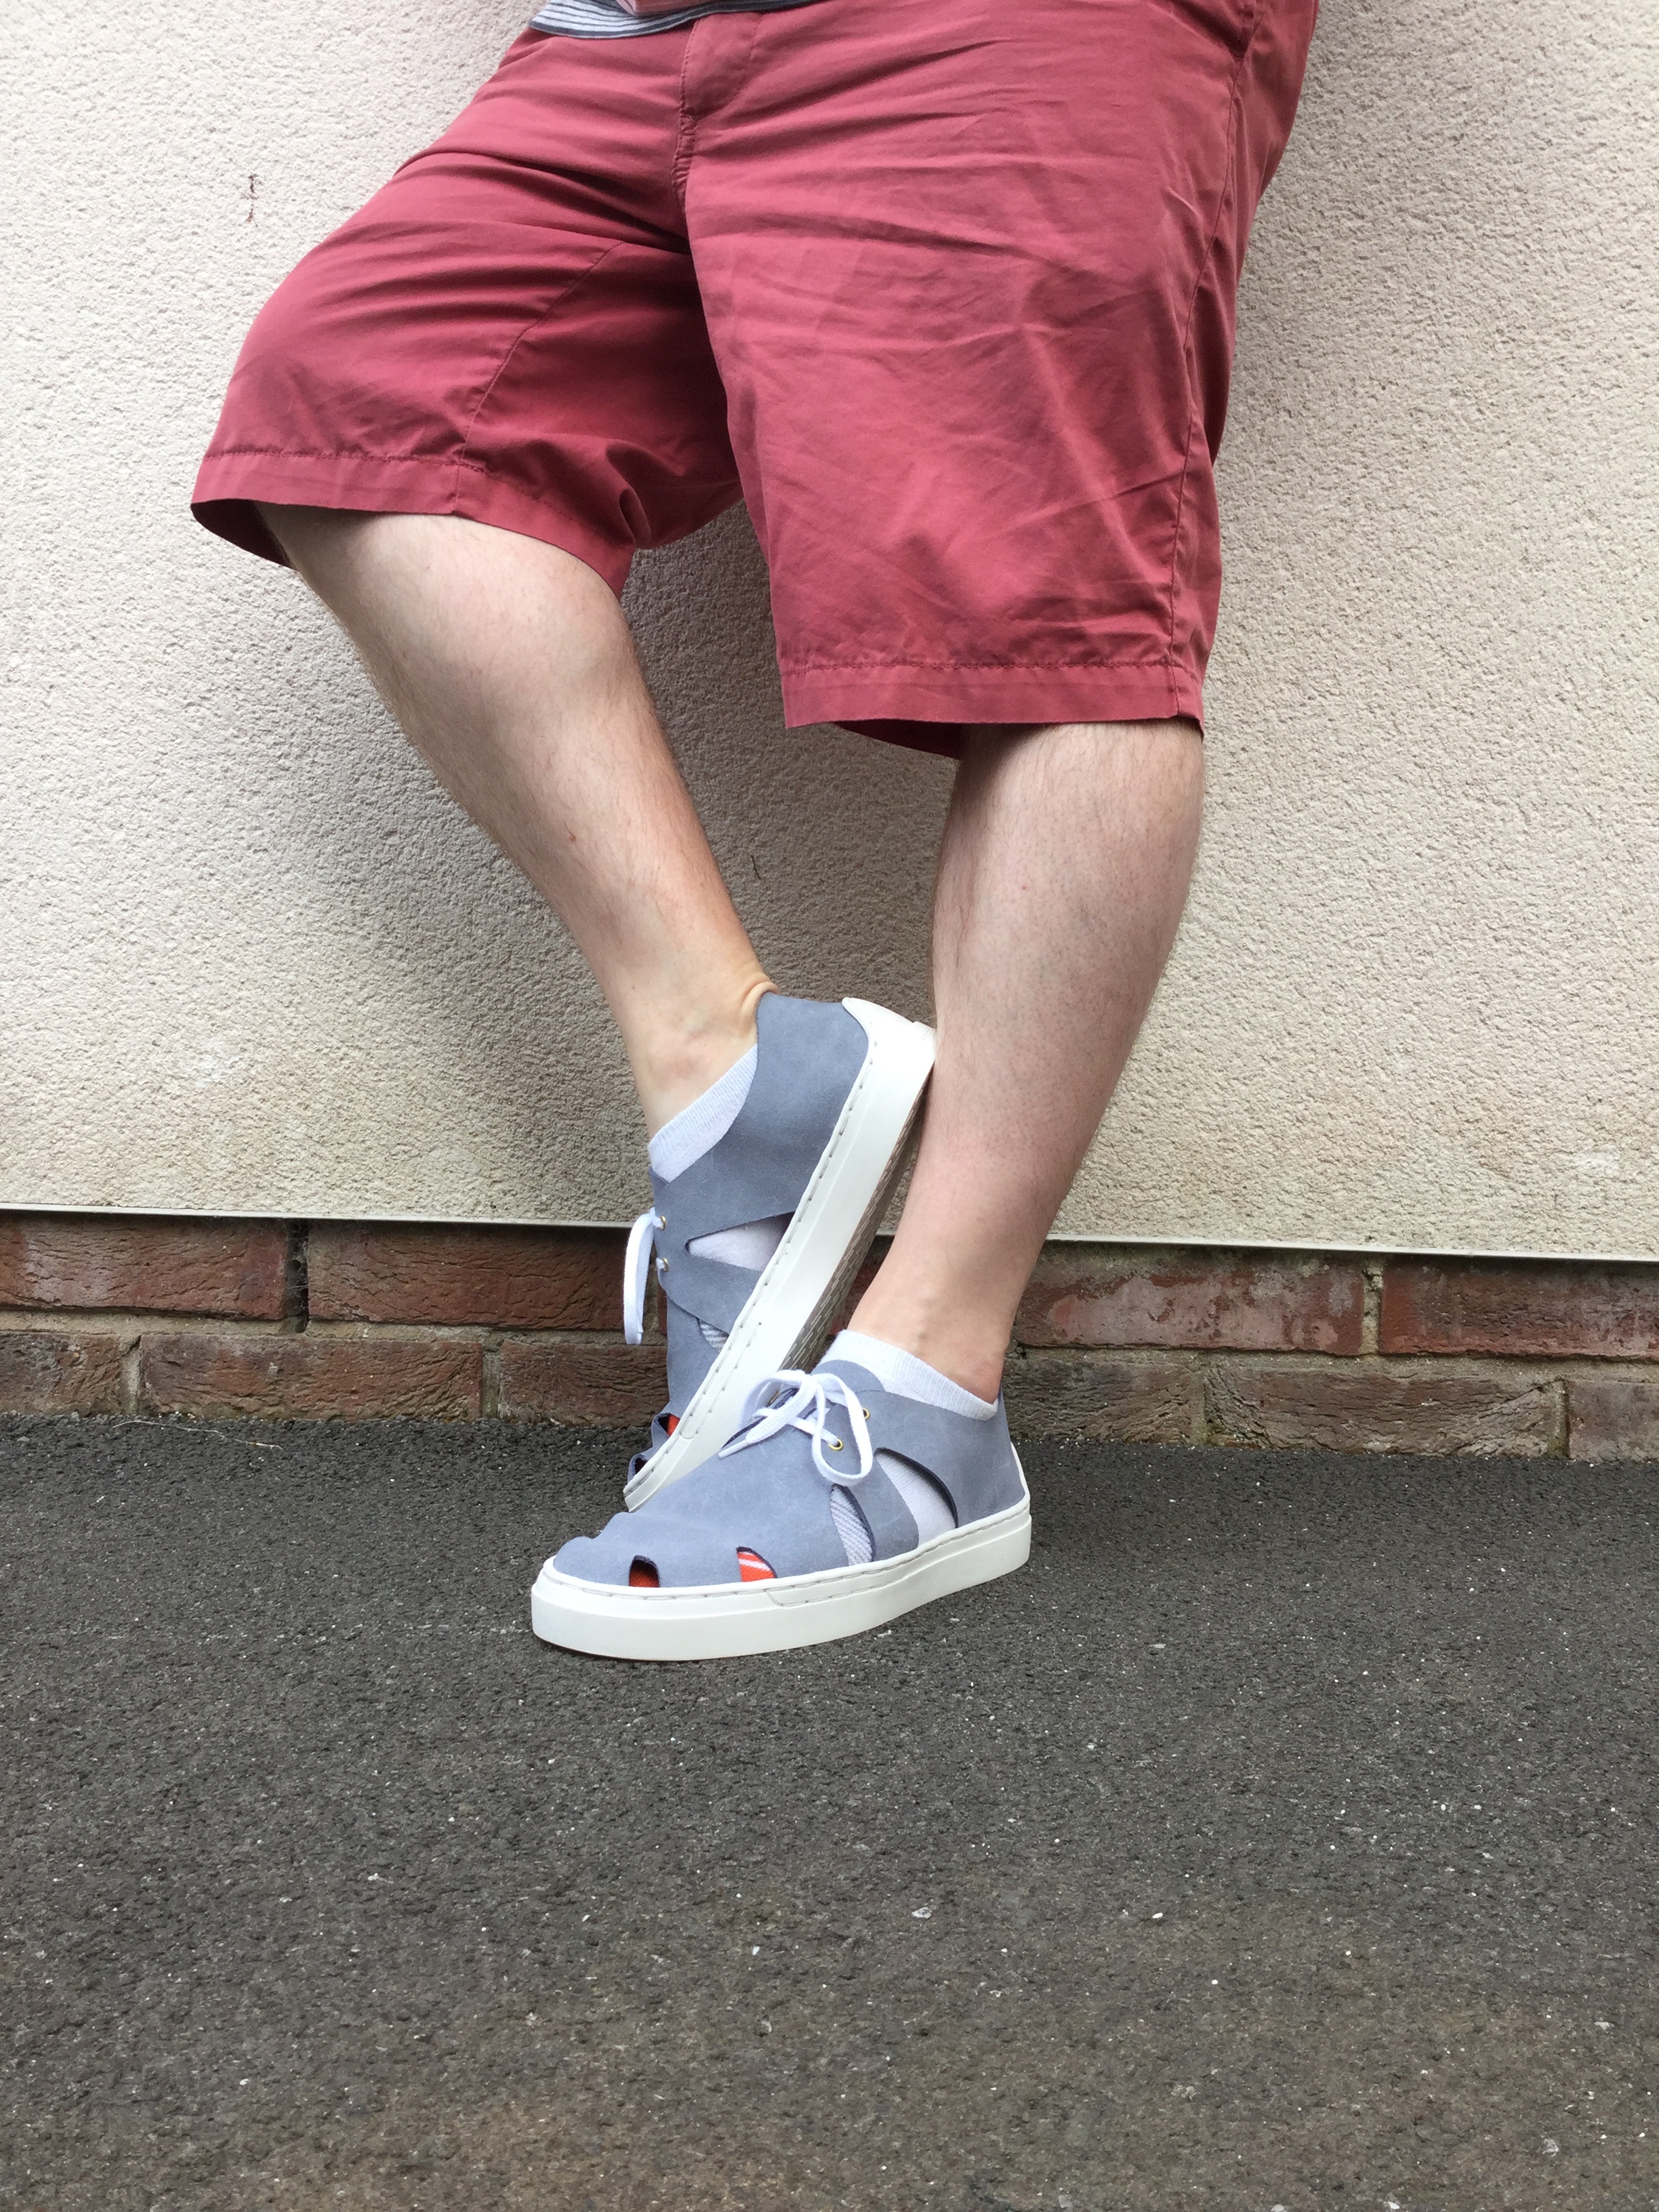

I am quite pleased with these, despite the challenges I had.
Summary
This knit from SneakerKit is great. It is perfect for a beginner as it includes all you need. And to cut the leather you can use sharp scissors. You don’t need a scalpel.
The new sole is much better with a decent grip, heel, arch and instep support.
SneakerKit and very prompt in replying to any issue you have. Their delivery was very good too, and the packaging I liked from an environmental standpoint with the majority of it recyclable.
The instructions could be better, specifically around the front/reverse of the leather and tracing of the patterns. To me, that’s a crucial detail. I find the website confusing on that point.
Additionally, to release two new templates and to not already have a video instruction is not great. especially, when the instructions with the kit do not explain how to stitch these new patterns. Summer 2 is the more challenging because of the extra notches.
Would I purchase again? Yes! Despite these niggles on instruction, they are easily overcome and they are going to work on videos. It is a great kit to while away a couple of hours and come out with something you are proud to wear and can say:
‘I made these!’
Any questions, let me know in the comments. And here is the link to the other sneakers I made last year.


These look great! Thanks for the detailed walk through in case I ever decide to go for it. I imagine there will be more pairs in your future.
LikeLiked by 1 person
Thanks. Yes, I’ll buy a basic kit to get the soles and source some leather of my choice. I’d quite like a formal pair in some nice soft aged leather.
LikeLike
I loved seeing your sneakers come to life! They are fantastic!
LikeLiked by 1 person
Thank you 🙂
LikeLiked by 1 person
This was so intereting and informative. You made me feel like I could make a pair of sneakers because your advice was so good. Thank you!
LikeLiked by 1 person
Thank you 🙂 I would love to see them if you do make some.
LikeLike
They’re coming along nicely!
LikeLiked by 1 person
Thanks 🙂
LikeLike
You’re welcome!
LikeLike
They look comfy!
LikeLiked by 1 person
They are :). Taking them for a proper test drive this weekend.
LikeLiked by 1 person